If you have purchased a domain from one company and hosting from Hostinger, you need to connect them before your website can work properly. This process is commonly called pointing a domain to Hostinger.
The good news is that the process is straightforward. You can usually connect your domain by changing its nameservers or by updating specific DNS records. The best method depends on where your domain is registered and how your hosting account is configured.
In this guide, you will learn how to point domain to Hostinger step by step.
What Does Pointing a Domain to Hostinger Mean?
Pointing a domain to Hostinger means connecting your domain name with your Hostinger hosting account.
For example, suppose your domain is example.com and your website is hosted on Hostinger. When someone enters your domain into their browser, DNS settings tell the browser where your website is located.
Without the correct DNS configuration, your domain may show an error, a parking page, or an unrelated website.
Therefore, pointing your domain correctly is an important step when setting up a new website.
Before You Start
Before changing your DNS settings, make sure you have access to both accounts:
- Your domain registrar account
- Your Hostinger account
You should also know which domain you want to connect to your Hostinger hosting plan.
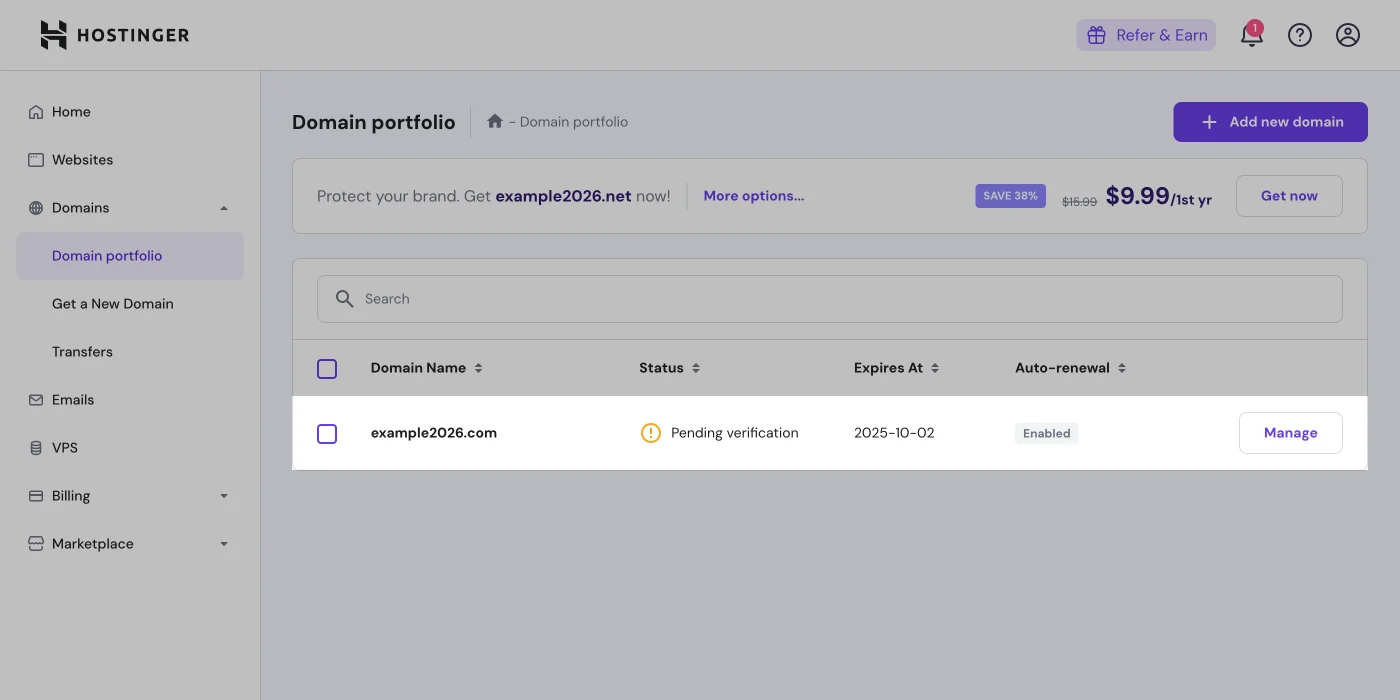
If your domain was purchased directly from Hostinger, it may already be connected. However, domains registered with another provider usually require additional configuration.
Method 1: Point Your Domain Using Hostinger Nameservers
Using Hostinger nameservers is one of the easiest methods for connecting a domain to Hostinger.
First, log in to your Hostinger account. Open your hosting dashboard and select the website or domain you want to connect.
Look for the DNS or nameserver information provided by Hostinger. You will normally see two Hostinger nameservers.
They may look similar to:
ns1.dns-parking.com
ns2.dns-parking.com
The exact nameservers assigned to your account may be different, so always use the values displayed in your Hostinger account.
Next, log in to the company where you purchased your domain.
Find the domain management section and open the nameserver settings.
Replace the existing nameservers with the Hostinger nameservers provided in your account.
Save the changes.
Your domain is now configured to use Hostinger’s DNS service.
Method 2: Point Your Domain Using an A Record
Another option is to keep your current nameservers and point the domain to your Hostinger server using an A record.
This method can be useful when you want to keep DNS management with your existing provider.
First, find your Hostinger hosting IP address. You can usually find it inside your Hostinger account under your website or hosting information.
Then open the DNS management area at your domain registrar.
Find the existing A record for your domain.
For the root domain, the host or name is commonly entered as:
@Enter your Hostinger IP address in the value or points-to field.
For example:
Type: A
Name: @
Points to: Your Hostinger IP
Save the record after checking the information carefully.
You may also need to update the www record depending on your current DNS configuration.
Which Method Should You Use?
The nameserver method is generally easier for beginners because Hostinger manages the DNS records for your domain.
When you change nameservers, your domain starts using Hostinger’s DNS zone. This makes it easier to manage common records such as A, CNAME, MX, and TXT records from Hostinger.
The A-record method gives you more control over where individual DNS records point. It can be useful when you want to keep DNS management with your existing provider.
Before choosing a method, consider how your email and other DNS services are currently configured.
How to Change Nameservers
Changing nameservers is usually simple.
Start by logging in to your domain registrar.
Open your domain management page and look for an option such as Nameservers, DNS Settings, or Manage DNS.
Select the option to use custom nameservers.
Enter the Hostinger nameservers provided in your hosting account.
Remove the old nameservers only if you are sure you no longer need them.
Save the changes.
After that, DNS changes need time to update across the internet.
How Long Does It Take?
DNS changes are not always instant.
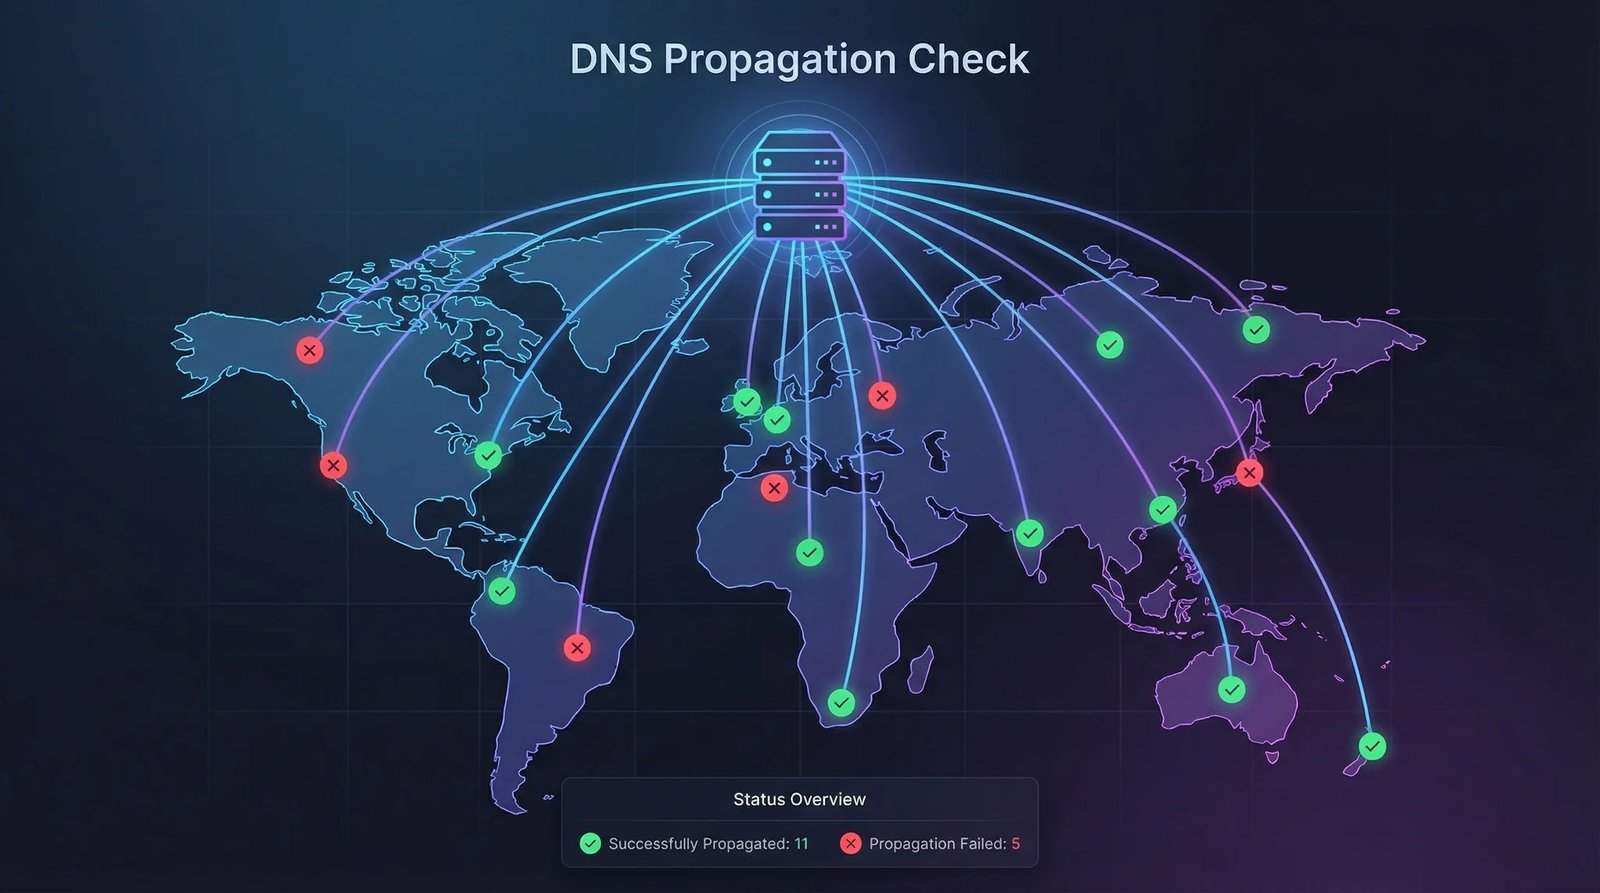
After pointing your domain to Hostinger, the changes may start working within a few minutes. However, DNS propagation can sometimes take up to 24–48 hours.
During this period, some users may see the new website while others may still see the old destination.
You do not normally need to change the settings repeatedly during propagation. Instead, wait for the DNS information to update.
How to Check If Your Domain Is Pointing to Hostinger
After changing your DNS settings, you should verify the configuration.
One simple method is to open your domain in a web browser.
If your Hostinger website loads correctly, the connection is likely working.
You can also use an online DNS checker to inspect your domain’s A record or nameservers from different locations.
Another option is to use Command Prompt on Windows.
Open Command Prompt and enter:
nslookup example.comReplace example.com with your domain.
The result can help you identify the DNS information currently being returned by your DNS resolver.
Common Problems When Pointing a Domain to Hostinger
Sometimes a domain does not work immediately after changing DNS settings. Several common issues can cause this.
Incorrect Nameservers
Make sure you copied the nameservers exactly as shown in Hostinger.
A small spelling mistake can prevent the domain from connecting correctly.
Wrong IP Address
If you are using an A record, confirm that you entered the correct Hostinger IP address.
An incorrect IP address can send visitors to the wrong server.
DNS Propagation
If your settings are correct but the website is not working yet, the changes may still be propagating.
Wait for some time and check again.
Conflicting DNS Records
Multiple A records or incorrect CNAME records can sometimes create unexpected results.
Review your DNS zone and remove outdated records only when you know they are no longer required.
Website Configuration
DNS may be working correctly while the website itself is not configured properly.
Make sure your domain has been added to the correct website or hosting account in Hostinger.
What About Email After Changing Nameservers?
Be careful when changing nameservers if you already use email with your domain.
Changing nameservers can move DNS management to Hostinger. If your email provider requires specific MX, TXT, or other DNS records, those records may need to be added to the new DNS zone.
Before changing nameservers, make a note of important existing DNS records.
This can help prevent email or other services from stopping unexpectedly.
Final Thoughts
Learning how to point domain to Hostinger is an important step when launching a website.
For most beginners, changing the domain’s nameservers to the Hostinger nameservers is the simplest approach. Alternatively, you can use an A record if you want to keep DNS management with your current provider.
After making the change, allow time for DNS propagation. Then verify your nameservers or DNS records to make sure everything is pointing to the correct Hostinger server.
If you follow the steps carefully and use the correct DNS information, connecting your domain to Hostinger should be a straightforward process.