Changing nameservers is an important step when you want to connect your domain to a new hosting provider. Nameservers tell your domain where to find your website and other DNS services.
If your domain is registered with Hostinger, you can change its nameservers from the domain management area. The process is simple, but entering the wrong nameserver can temporarily affect your website or email.
In this guide, you will learn how to change nameservers in Hostinger step by step.
What Are Nameservers?
Nameservers are special server addresses that tell the internet which DNS provider manages your domain.
For example, when you connect a domain to hosting, your hosting company may provide two nameservers. They can look similar to:
ns1.example.comns2.example.com
Your domain uses these nameservers to find the correct DNS records. These records can control your website, email, subdomains, and other services.
Why Change Nameservers?
There are several reasons to change nameservers. You may want to connect your domain to a different hosting service, move your website to a new server, or use another DNS management platform.
If your new hosting provider gives you specific nameservers, you usually need to replace the existing nameservers with the new ones.
Before making changes, make sure you have the correct nameserver addresses from your hosting provider.
How to Change Nameservers in Hostinger
Follow these steps to update your domain nameservers.
1. Log In to Hostinger
First, open the Hostinger website and sign in to your account.
After logging in, you should see your Hostinger account dashboard. From here, you can manage your domains, websites, hosting plans, and DNS settings.
2. Open Your Domain
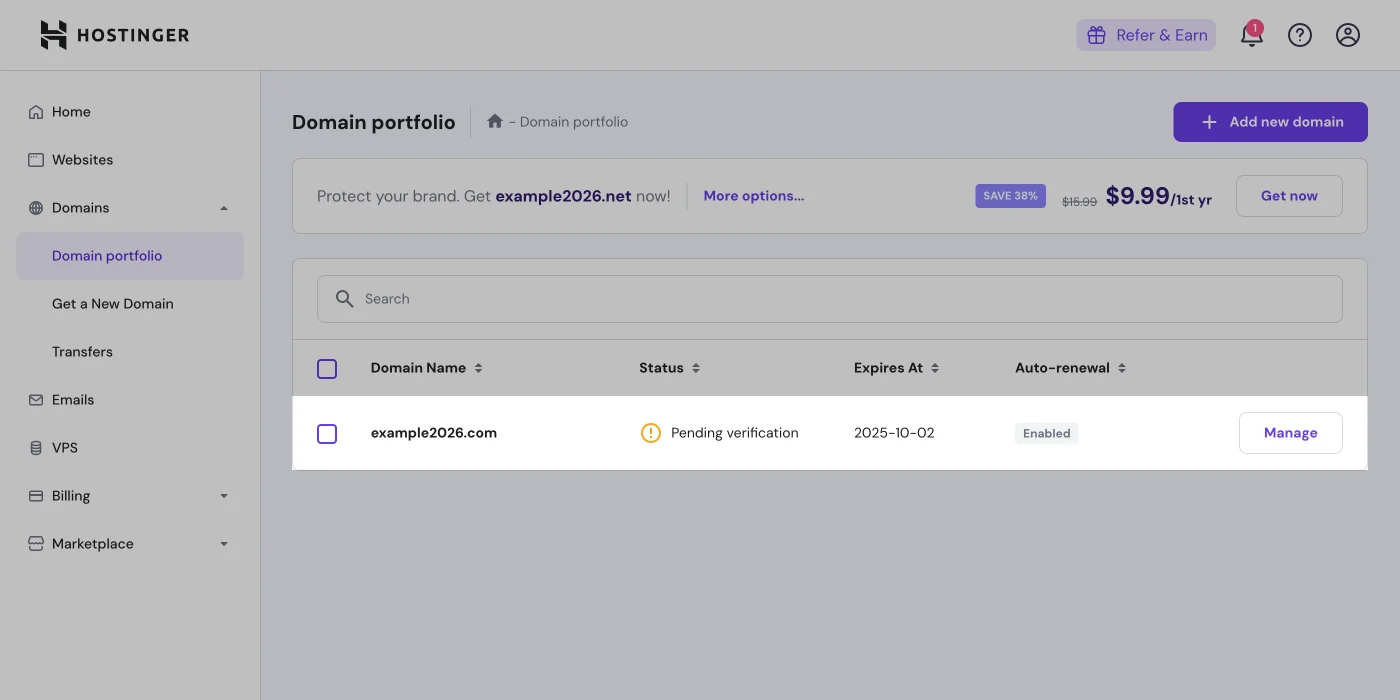
Go to the domain management section of your Hostinger account.
Find the domain you want to update and open its management settings. Make sure you select the correct domain before changing any DNS information.
3. Find the Nameserver Settings
Look for the option related to nameservers or DNS settings.
Hostinger may show the current nameservers assigned to your domain. These are the server addresses currently responsible for handling your domain’s DNS.
This is where you can update your Hostinger nameserver settings.
4. Choose the Custom Nameserver Option
If you are connecting your domain to another hosting provider, select the option that allows you to use custom nameservers.
You may see fields for two or more nameservers. Your new hosting provider should give you the exact values to enter.
For example:
- Nameserver 1:
ns1.example.com - Nameserver 2:
ns2.example.com
Do not copy these example values. Enter the nameservers provided specifically for your hosting account.
5. Enter the New Nameservers
Replace the existing nameservers with the new ones.
Check every character carefully before saving the changes. A small typing error can prevent your domain from connecting correctly.
If your provider gives you two nameservers, enter both. If additional nameservers are provided, follow the provider’s instructions.
6. Save the Changes
After entering the correct nameservers, click the button to save or update the settings.
Hostinger will process the change. Your domain may continue showing the old website temporarily while the new DNS information spreads across the internet.
How Long Does a Nameserver Change Take?
Nameserver changes are not always immediate.
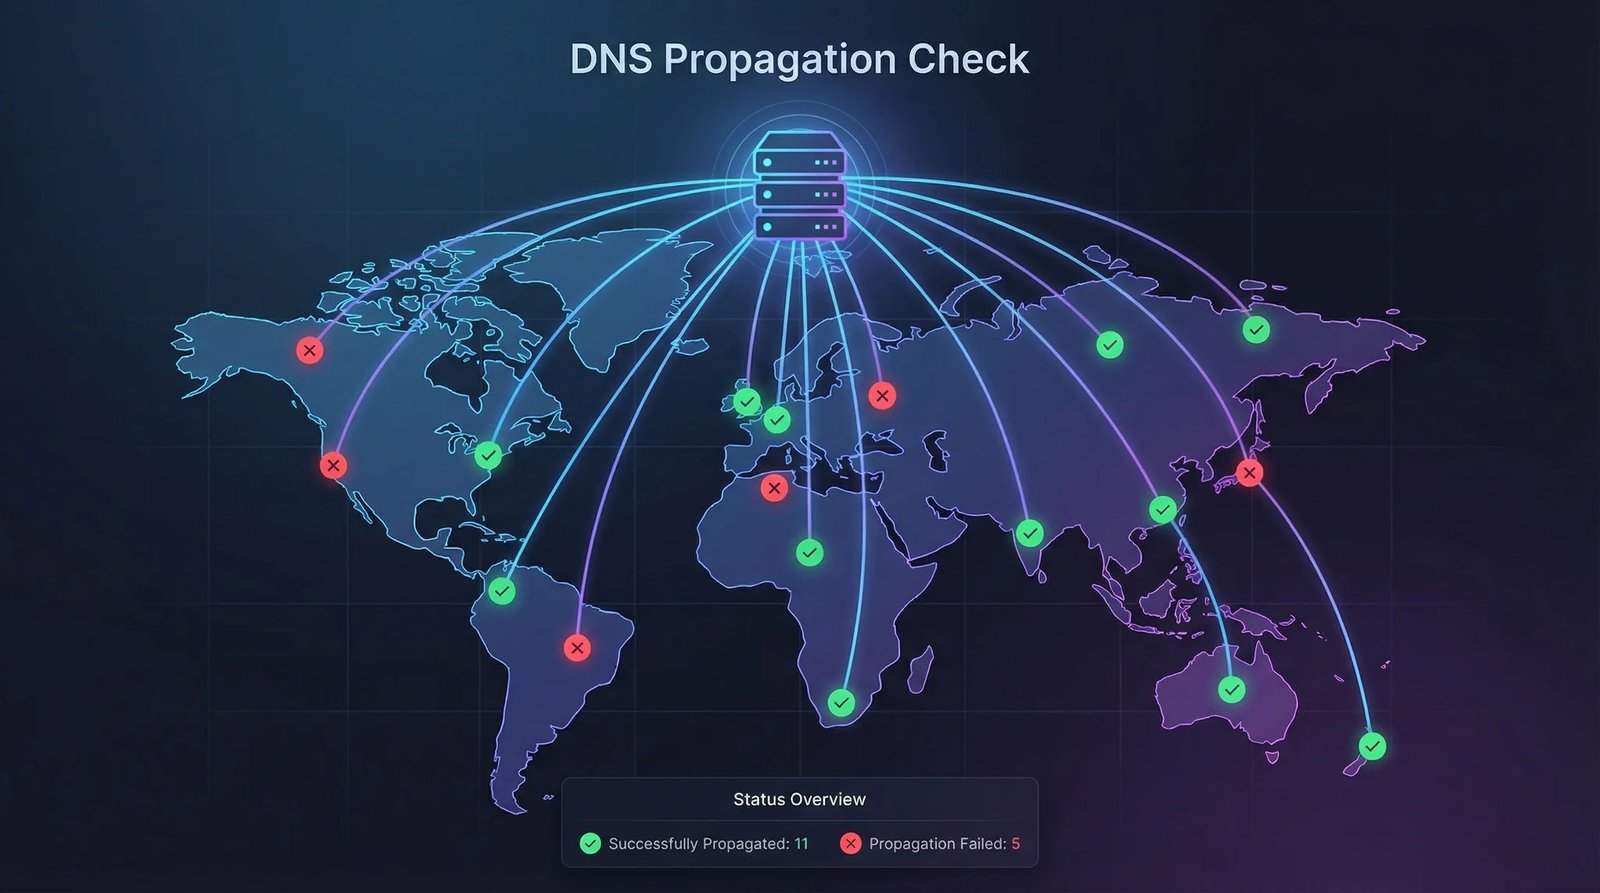
DNS updates can take some time to propagate across different networks and locations. In many cases, the change becomes visible within several hours, but it can sometimes take longer.
During this period, different users may temporarily see different results.
You do not normally need to keep changing the nameservers while waiting. Give the DNS system enough time to update.
How to Check if the Change Worked
After changing your nameservers, you can use an online DNS or nameserver checker to verify the current values.
Enter your domain name and check whether the new nameservers are being displayed.
You can also check your website directly after DNS propagation. If the domain loads the website from the new hosting provider, the connection is likely working correctly.
Common Mistakes to Avoid
When changing nameservers, avoid these common mistakes:
Using the wrong nameservers: Always copy the values from your hosting provider.
Changing DNS unnecessarily: If you only need to update one DNS record, changing nameservers may not be necessary.
Typing nameservers manually: Copy and paste the values when possible to avoid spelling mistakes.
Changing settings repeatedly: DNS propagation takes time. Repeated changes can make troubleshooting more difficult.
Forgetting email services: Changing nameservers can affect DNS records used for email. Check your email configuration before making major DNS changes.
What Happens After Changing Nameservers?
Once the new nameservers propagate, DNS queries for your domain will use the DNS provider associated with those nameservers.
Your website can then connect to the new hosting environment, provided the required DNS records are correctly configured there.
If your website does not appear immediately, do not panic. Check the nameservers first and allow time for DNS propagation.
Final Thoughts
Learning how to change nameservers in Hostinger is useful when moving a domain between hosting providers or changing your DNS management service. The process involves opening your domain settings, replacing the existing nameservers with the correct ones, and saving the changes.
Always double-check the nameserver values before saving. Afterward, allow enough time for DNS propagation and use a DNS checker if you need to confirm that the new nameservers are active.
With the correct nameservers and DNS configuration, your domain should connect to the intended hosting service successfully.