Images make a WordPress website more attractive and engaging. However, loading too many images at once can increase the page size and slow down your website. This can be especially noticeable on mobile devices and slower internet connections.
One useful solution is lazy loading. It allows images to load when they are close to becoming visible on the visitor’s screen instead of loading every image immediately.
If you want to learn how to lazy load images in WordPress, this guide will show you simple ways to enable lazy loading and improve image loading performance.
What Is Lazy Loading?
Lazy loading is a technique that delays the loading of certain website elements until they are needed.
For example, imagine a blog post contains ten images. Without lazy loading, the browser may begin loading many of those images when the page opens. With lazy loading, images lower down the page can wait until the visitor scrolls closer to them.
This can reduce the amount of data loaded during the initial page visit.
Why Use Lazy Loading in WordPress?
Lazy loading can help improve the initial loading experience of pages that contain many images.
Some potential benefits include:
- Faster initial page loading
- Less data loaded immediately
- Better mobile performance
- Reduced bandwidth usage
- Improved browsing experience
- More efficient image loading
Lazy loading is particularly useful for long articles, image-heavy pages, galleries, and websites with many visual elements.
Does WordPress Support Lazy Loading?
Modern WordPress versions include native lazy-loading support for many images. This means that you may not need to manually add code to enable basic lazy loading.
WordPress can add the appropriate loading behavior to images automatically in many situations.
However, your theme, plugins, or website configuration can affect how images are loaded. Therefore, it is still useful to check your website after making performance changes.
Method 1: Use WordPress’s Built-In Lazy Loading
The easiest method is to use the lazy-loading functionality provided by WordPress.
First, make sure your WordPress installation is updated to a recent version. Go to your WordPress dashboard and select Dashboard > Updates.
If an update is available, create a backup and update WordPress carefully.
When you add images through the normal WordPress editor, WordPress can handle lazy loading automatically for supported images.
You generally do not need to add special code to every image manually.
Method 2: Use a Performance Plugin
Another simple option is to use a WordPress performance or caching plugin that includes lazy-loading settings.
Go to Plugins > Add New Plugin from your WordPress dashboard. Search for a reputable performance plugin that supports image lazy loading.
After installing and activating the plugin, open its settings and look for options such as Lazy Load, Images, or Media.
Enable the image lazy-loading option and save your settings.
The exact location of this feature depends on the plugin you choose, so the settings may look different from one website to another.
Method 3: Enable Lazy Loading Through an Optimization Plugin
Some image optimization plugins also provide lazy-loading features. If you already use an image optimization plugin, check its settings before installing another plugin.
Using one plugin for multiple performance features can help prevent unnecessary plugin duplication.
Look for an option related to lazy loading and enable it if it is appropriate for your website.
Afterward, clear your website cache and test several pages.
Be Careful With Above-the-Fold Images
Lazy loading should not necessarily be applied to every image on your website.
Images that appear immediately when a visitor opens a page are often called above-the-fold images. For example, a large hero image or important featured image may appear at the top of a page.
Delaying these images unnecessarily can sometimes affect how quickly the main visual content appears.
For this reason, use lazy loading carefully and allow important above-the-fold images to load normally when appropriate.
Test Lazy Loading After Enabling It
After enabling lazy loading, open your website in a private or incognito browser window.
Visit several pages and scroll slowly through them. Check whether images appear correctly as you move down the page.
Also test your website on mobile devices. Make sure images do not remain blank or fail to load.
If you use a caching plugin or content delivery network, clear the cache after changing your settings.
Combine Lazy Loading With Image Optimization
Lazy loading works best when it is combined with other image optimization techniques.
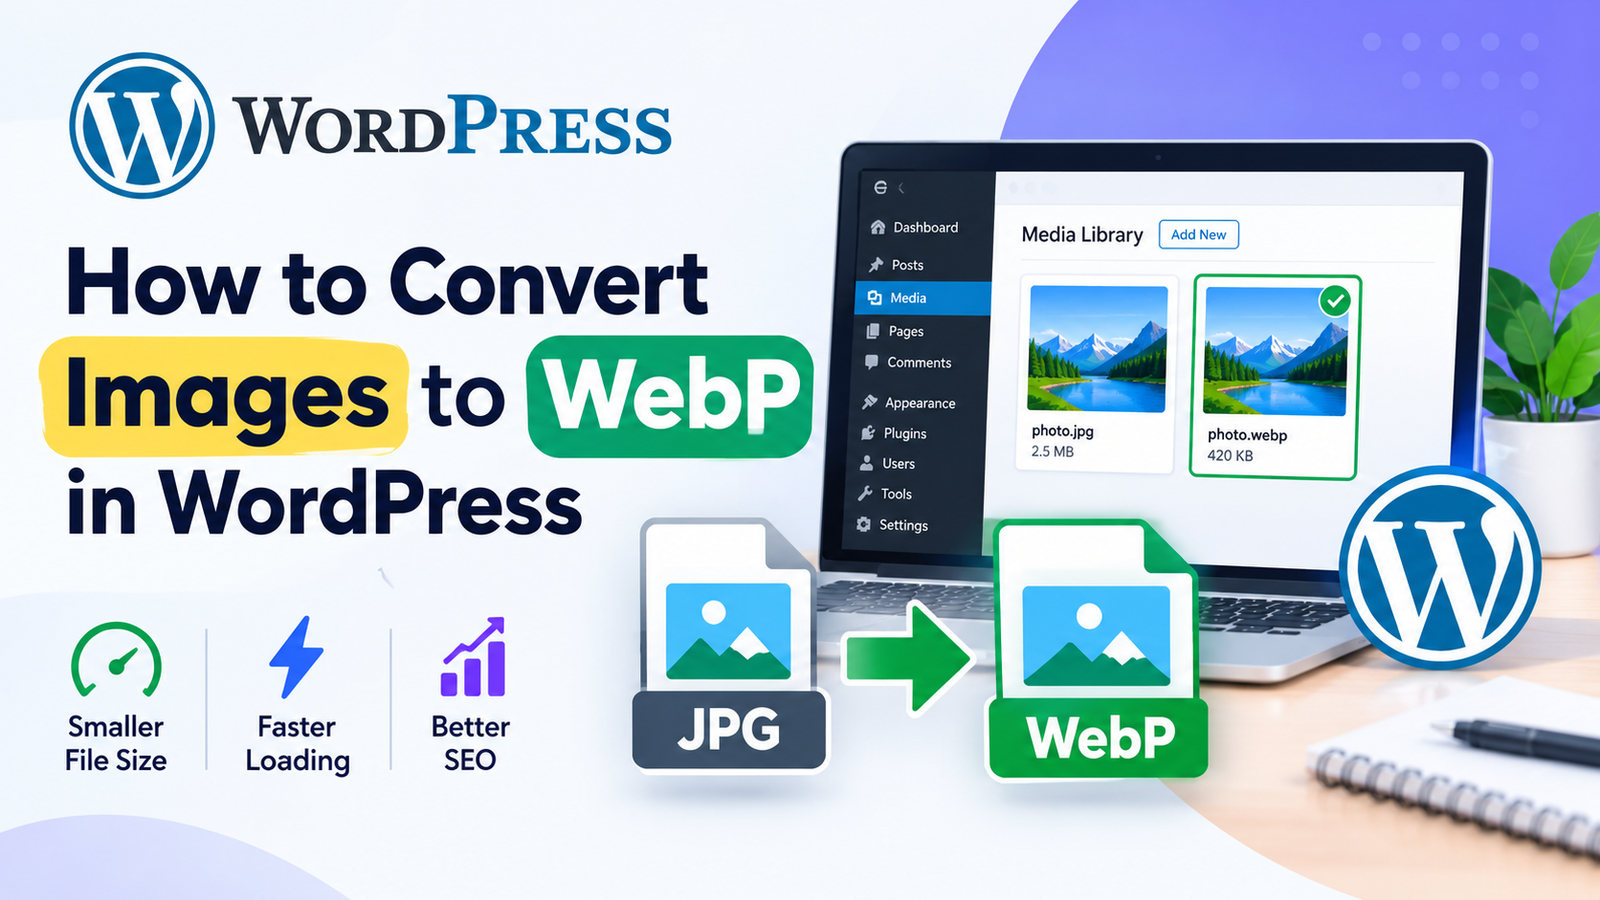
Before uploading images, resize them to suitable dimensions. You can also compress them and use modern formats such as WebP when appropriate.
For example, instead of uploading a huge original photograph, resize it to match the maximum size required by your website.
You can also use smart image delivery techniques to further improve how visual content is served to visitors.
Common Lazy Loading Mistakes
One common mistake is installing several plugins that perform the same lazy-loading function. This can create unnecessary conflicts.
Another mistake is applying aggressive lazy loading to important images near the top of the page.
You should also avoid adding unnecessary custom code if WordPress or your existing performance plugin already provides the feature.
Always test your website after changing performance settings.
Final Thoughts
Learning how to lazy load images in WordPress can help you manage image loading more efficiently. WordPress provides built-in support for lazy loading, while performance and optimization plugins can offer additional controls.
For the best results, combine lazy loading with image compression, proper image dimensions, caching, and modern formats such as WebP.
Most importantly, test your website after making changes. Make sure your images load correctly on desktop and mobile devices and that important above-the-fold content is not unnecessarily delayed.