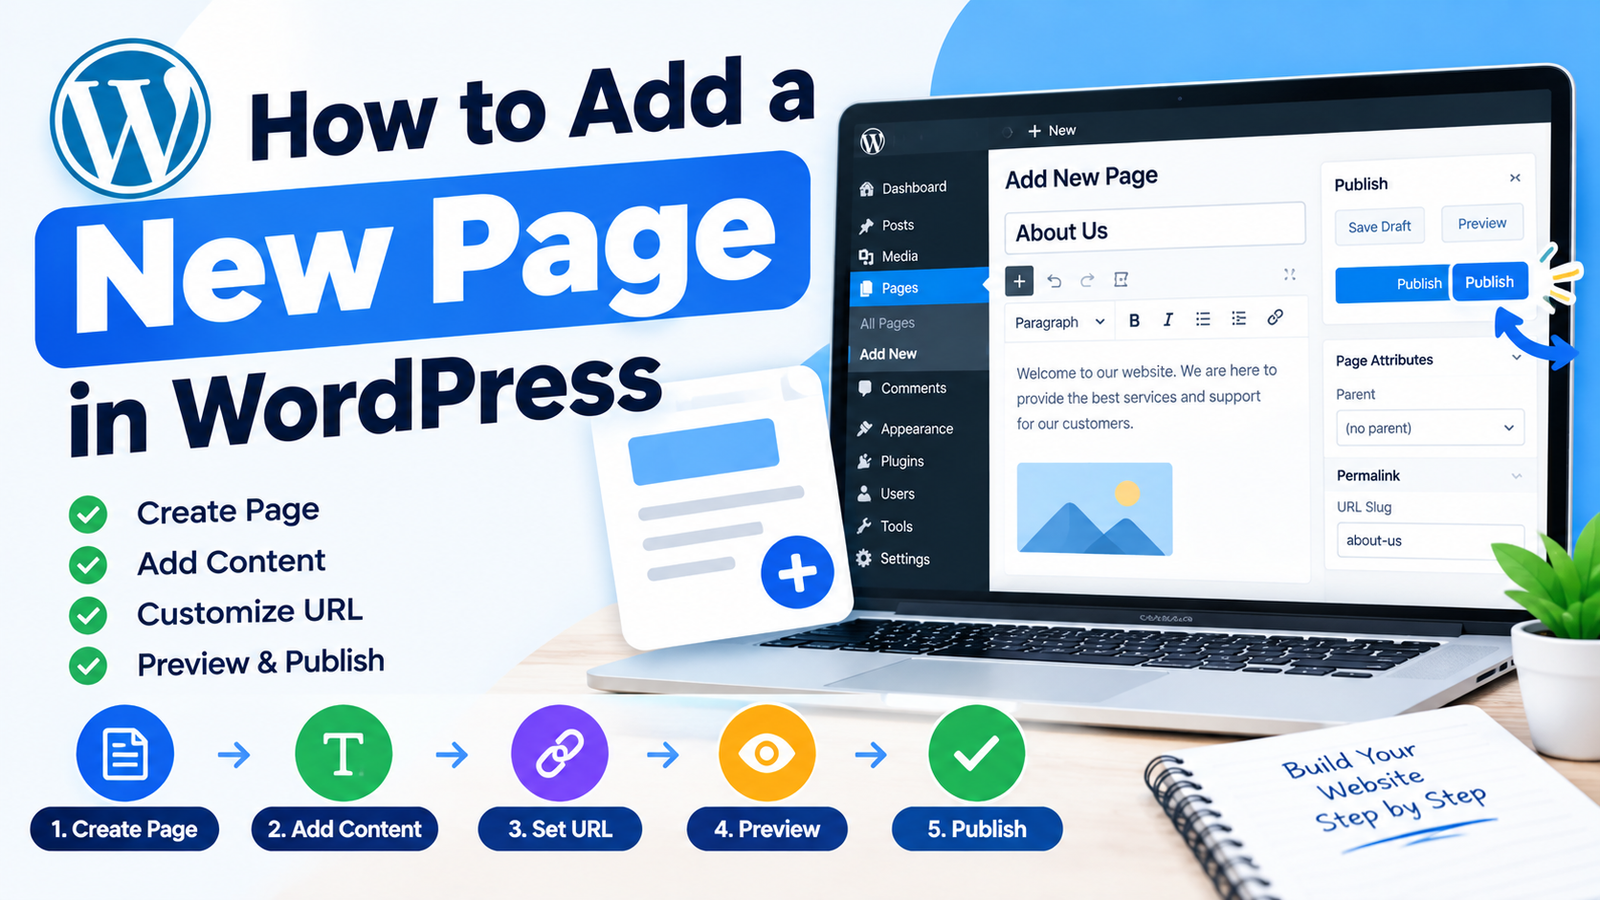
WordPress makes it easy to create pages for important information on your website. Pages are commonly used for content that does not change frequently, such as About Us, Contact Us, Privacy Policy, Services, and other important sections.
If you are wondering how to add a new page in WordPress, you can create one directly from the WordPress dashboard. You do not need coding skills to create a basic page.
In this guide, you will learn how to create a new page, add content, customize it, and publish it on your WordPress website.
What Is a Page in WordPress?
A WordPress page is used for permanent or relatively stable website content.
For example, most websites have pages such as:
- Home
- About Us
- Contact Us
- Services
- Privacy Policy
- Terms and Conditions
Pages are different from blog posts. Posts are usually used for regularly published articles and updates, while pages are generally used for important website information.
How to Add a New Page in WordPress
Step 1: Log In to Your WordPress Dashboard
First, log in to your WordPress website.
Enter your username and password to access the WordPress dashboard. After logging in, you will see the administration menu on the left side of the screen.
This dashboard allows you to manage pages, posts, media, themes, plugins, comments, and other website settings.
Step 2: Open the Pages Section
From the WordPress dashboard, go to Pages > Add New.
WordPress will open the page editor where you can create your new page.
Depending on your WordPress version and setup, you may see the Block Editor. This editor allows you to add different types of content using blocks.
Step 3: Add a Page Title
At the top of the editor, enter a title for your page.
For example, if you are creating an About Us page, enter:
About Us
Choose a clear title that tells visitors exactly what the page is about.
Your title may also be used as part of the page’s URL, so avoid unnecessary words and keep it relevant.
Step 4: Add Your Content
After adding the title, start writing your page content.
The WordPress Block Editor allows you to add paragraphs, headings, images, lists, buttons, videos, and other content.
For example, an About Us page might include information about your website, business, services, or team.
Use headings to divide longer content into smaller sections. Short paragraphs can also make your page easier to read.
Step 5: Add Images or Other Media
You can add images to make your page more useful and visually appealing.
Click the + button in the editor and select the Image block. You can upload a new image or select one from your Media Library.
When adding images, use descriptive alternative text. Alt text helps explain the image to visitors who cannot see it and can also provide useful context for search engines.
Step 6: Set the Page URL
WordPress automatically creates a URL based on your page title.
You can usually edit the URL or slug from the page settings.
For example, an About Us page could have a URL similar to:
yourwebsite.com/about-us/
Keep your page URL short, readable, and related to the page topic.
Avoid using unnecessary numbers or complicated words in the slug.
Step 7: Add SEO Information
If you use an SEO plugin, you may see additional fields for an SEO title and meta description.
Write a clear SEO title that describes the page and a useful meta description that explains what visitors can expect.
Avoid stuffing keywords into your page. Instead, use your main phrase naturally throughout the content.
You can use this WordPress page creation tutorial as a simple reference when setting up new pages for your website.
Step 8: Preview Your Page
Before publishing, use the Preview option to check how your page looks.
Review the page on desktop and mobile devices if possible.
Check that:
- The title looks correct.
- Paragraphs are easy to read.
- Images display properly.
- Links work correctly.
- The page looks good on mobile screens.
Taking a few minutes to preview your page can help you find mistakes before visitors see them.
Step 9: Publish the Page
When everything looks correct, click the Publish button.
WordPress may ask you to confirm the publishing settings. Confirm the options and publish the page.
Your new page will now be available on your website.
How to Edit a WordPress Page
If you need to make changes later, go to Pages > All Pages.
Find the page you want to edit and click its title or the Edit option.
Make your changes and click Update to save them.
You can edit text, images, headings, links, and other content whenever necessary.
How to Add the New Page to Your Menu
Creating a page does not always mean it will automatically appear in your website’s navigation menu.
If you want visitors to access the page from your main menu, you can add it to your navigation.
Depending on your theme, go to Appearance > Menus or open Appearance > Editor and edit the Navigation block.
Select the new page and add it to the appropriate menu location.
Tips for Creating Better WordPress Pages
Use a clear title and organize your content with headings. Keep paragraphs short and make important information easy to find.
Use high-quality images and add descriptive alt text. Make sure your page works properly on mobile devices.
You should also keep your URLs simple and use internal links when they are useful for visitors.
Avoid adding unnecessary content just to make a page longer. Focus on providing information that is helpful and relevant.
Conclusion
Adding a new page in WordPress is a straightforward process. You can create a page from the WordPress dashboard, add text and images, customize its URL, preview the design, and publish it without writing code.
Pages are essential for creating important sections of your website, including About, Contact, Services, and legal information.
Once your page is published, remember to review it regularly and update the information when necessary. A well-organized page structure makes your website easier for visitors to use and manage.