Not every WordPress page needs to be visible to the public. You may have a page containing internal information, unfinished content, private resources, or details that should only be available to logged-in users.
WordPress includes a built-in privacy setting that allows you to make individual pages private. You do not need coding knowledge or a complicated plugin for basic private pages.
In this guide, you will learn how to make a WordPress page private using the built-in WordPress settings. We will also explain what happens to a private page and when you should use this option.
What Is a Private WordPress Page?
A private WordPress page is a page that is not publicly visible on your website. Unlike a normal public page, visitors cannot simply open its URL and view the content.
Private pages are generally available to users who are logged in and have the appropriate WordPress permissions.
This makes the feature useful for website administrators, editors, and other authorized users.
If you want to manage private WordPress pages, the built-in WordPress visibility settings provide a simple starting point.
Why Make a WordPress Page Private?
There are several reasons to make a page private.
You may be preparing a page that is not ready for visitors. You might also need a private page for internal instructions, team information, drafts, or administrative content.
Another common reason is testing. You can make a page private while working on its design and content. Once everything is ready, you can change the visibility back to public.
Private pages can also help keep internal information away from normal website visitors.
How to Make a WordPress Page Private
WordPress makes the process straightforward. Follow the steps below to change an existing page from public to private.
Step 1: Log In to Your WordPress Dashboard
Start by logging in to your WordPress website.
After signing in, you will reach the WordPress dashboard. This is where you can manage your pages, posts, media, themes, plugins, and other website settings.
Step 2: Open All Pages
From the dashboard menu, go to Pages > All Pages.
You will see a list of pages currently available on your website.
Find the page that you want to make private. You can use the search box if your website contains many pages.
Step 3: Edit the Page
Click the page title to open the WordPress editor.
You can review or edit the content before changing its visibility.
The privacy setting can be changed without deleting or rewriting the page content.
Step 4: Find the Visibility Setting
Look at the settings panel on the right side of the WordPress editor.
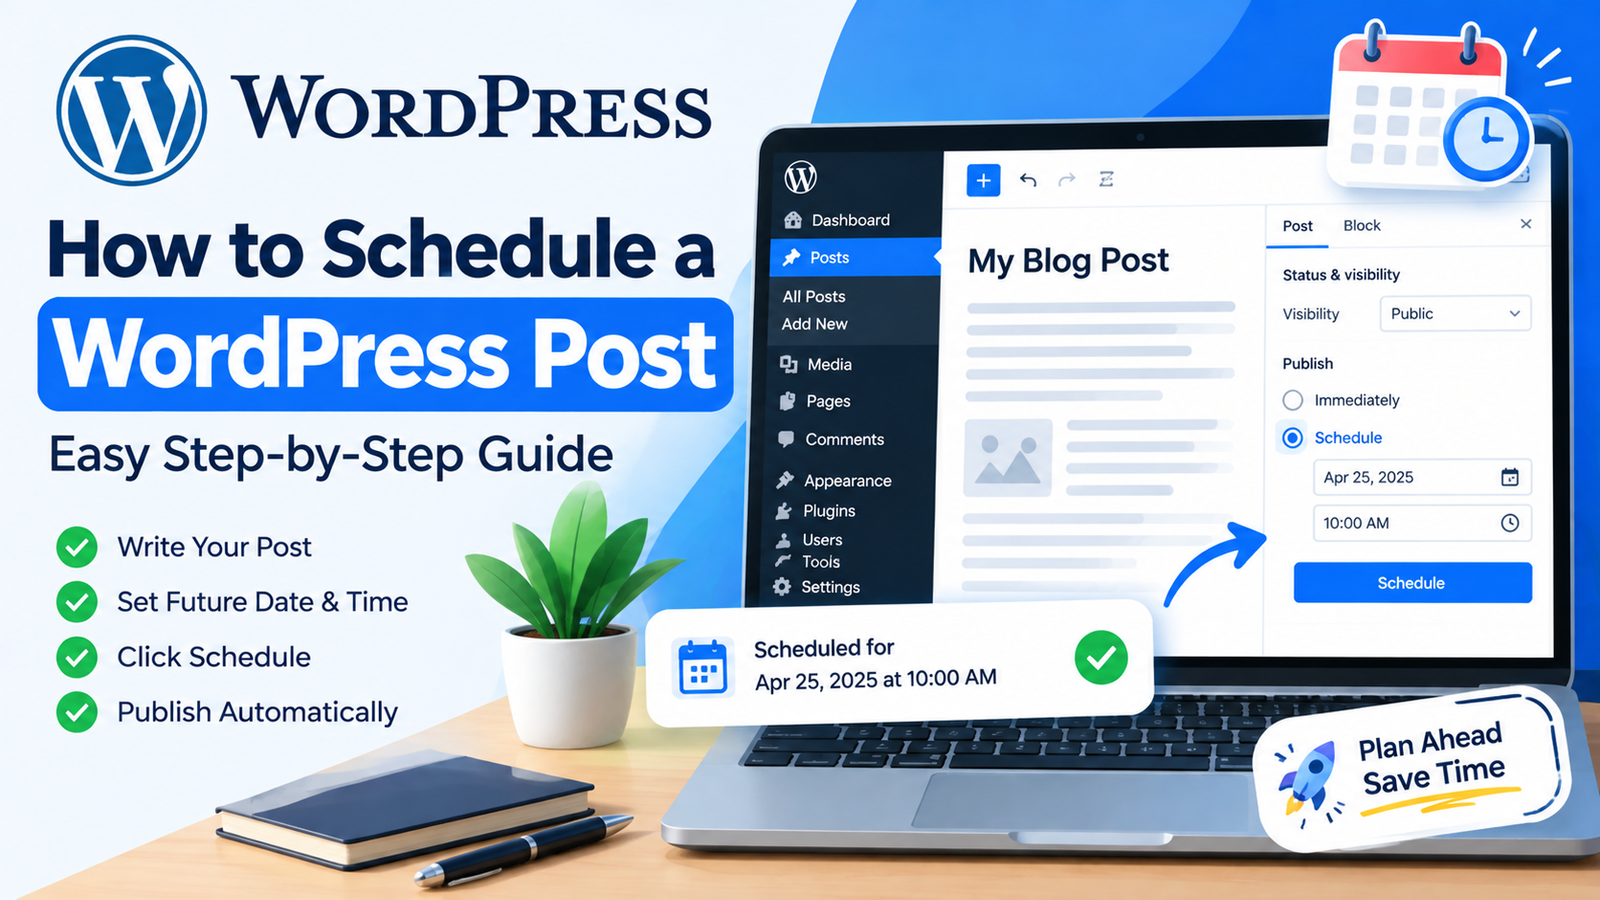
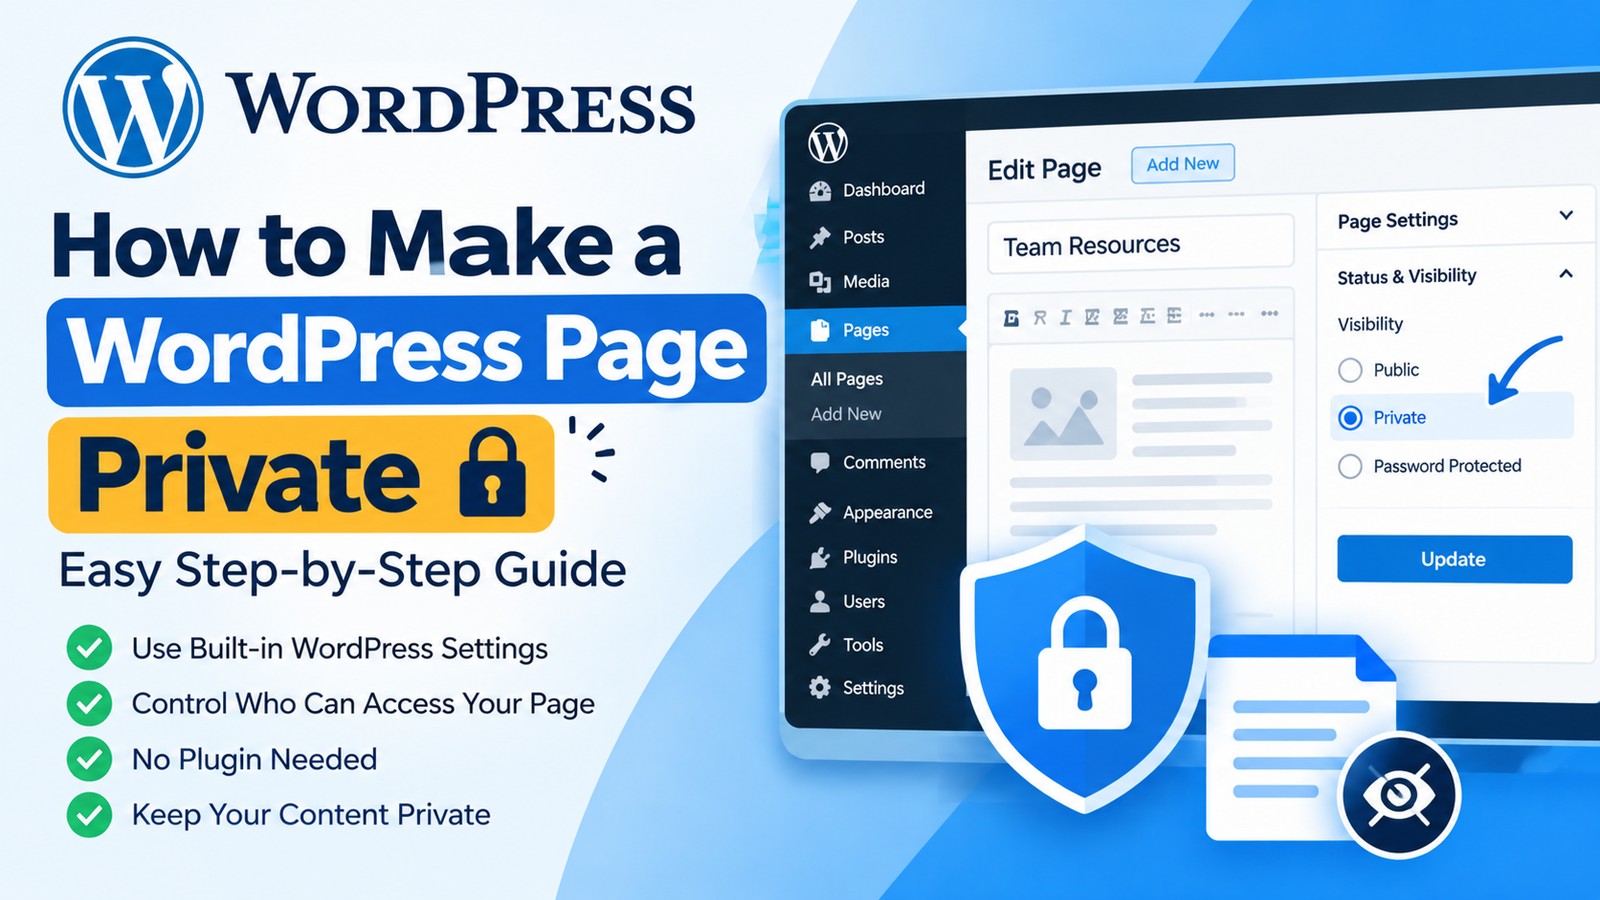
Find the Status & Visibility section. Under Visibility, you should see options such as Public, Private, and sometimes Password Protected.
Select Private.
Step 5: Confirm the Private Setting
WordPress may display a confirmation message asking if you want to make the page private.
Review the message and confirm your choice.
The page will now be set to private visibility.
Step 6: Update the Page
After selecting the private option, click Update.
If the page is new, you may see the Publish button instead.
WordPress will save the new visibility setting.
Your page is now private.
How to Check if the Page Is Private
After changing the setting, it is a good idea to verify that the page is private.
Open the page URL while logged out of your WordPress account. You can also use a private or incognito browser window.
A normal visitor should not be able to access the private page content.
If you are logged in with an account that has the required permissions, you may still be able to see the page. This is normal behavior.
Private vs Password-Protected WordPress Pages
Private and password-protected pages are not the same.
A private page is designed mainly for authorized WordPress users who are logged in with suitable permissions.
A password-protected page can be accessed by people who know the password, even if they do not have a WordPress account with editing permissions.
Choose Private when content should only be available to authorized WordPress users.
Choose Password Protected when you want to share content with people using a shared password.
Does a Private Page Appear in Google?
A properly private WordPress page should not be publicly accessible like a normal public page.
However, you should still review your website’s SEO and indexing settings if the page previously existed as a public page.
If a page was already indexed by search engines before you made it private, changes may take time to be reflected in search results.
Avoid using private pages as a replacement for a complete security system when the content is highly sensitive.
Can You Make a Private Page Public Again?
Yes. You can change the visibility at any time.
Open the private page in the WordPress editor and return to the Visibility setting.
Change Private back to Public, then click Update.
The page can then become accessible to normal visitors again.
Common Mistakes to Avoid
One common mistake is confusing Private with Password Protected. They provide different types of access.
Another mistake is forgetting to click Update after changing the visibility setting.
You should also test the page while logged out. This helps confirm what regular visitors can see.
If the page contains important or sensitive information, consider using stronger access-control solutions instead of relying only on a basic WordPress visibility setting.
Final Thoughts
Learning how to make a WordPress page private is simple and does not normally require a plugin or coding.
Open Pages > All Pages, edit the page, find the Visibility setting, select Private, and click Update.
Private pages are useful for internal content, unfinished pages, team information, and other material that should not be publicly accessible. If you need to share a page with people who are not WordPress users, password protection may be a better option.
By choosing the right visibility setting, you can keep your WordPress website organized while controlling access to specific pages.