Publishing blog posts consistently is important for maintaining an active WordPress website. However, you do not always need to publish every article immediately after writing it. WordPress includes a scheduling feature that lets you choose a future date and time for your post.
Learning how to schedule a WordPress post can help you organize your content and maintain a regular publishing routine. You can write several articles in advance and schedule them to go live automatically.
In this guide, you will learn how to schedule a WordPress post step by step and what to check before your scheduled article is published.
Why Schedule a WordPress Post?
Scheduling posts can make content management much easier. Instead of logging into your website every time you want to publish an article, you can prepare your content in advance.
For example, you can write several posts on the weekend and schedule them for different days throughout the week. This allows you to plan your WordPress content calendar more effectively.
Scheduling is also useful if you want to publish content at a specific time when you may not be available.
How to Schedule a WordPress Post
WordPress provides a built-in scheduling option, so you normally do not need an additional plugin.
Follow the steps below to schedule your article.
Step 1: Log In to Your WordPress Dashboard
First, log in to your WordPress admin dashboard.
After logging in, you will see the main WordPress dashboard. From here, you can manage your posts, pages, media, comments, plugins, and other website settings.
Step 2: Open the Posts Section
From the dashboard menu, go to Posts > Add New Post.
If you already have a draft article, go to Posts > All Posts and open the draft that you want to schedule.
Make sure your article is complete before choosing the publishing date.
Step 3: Add or Review Your Content
Write your article in the WordPress editor or review your existing draft.
Add your headings, images, links, and other content. You should also check the article for spelling and formatting errors.
If you use an SEO plugin, review the SEO title, meta description, focus keyphrase, and other SEO settings before scheduling the post.
Step 4: Find the Publish Settings
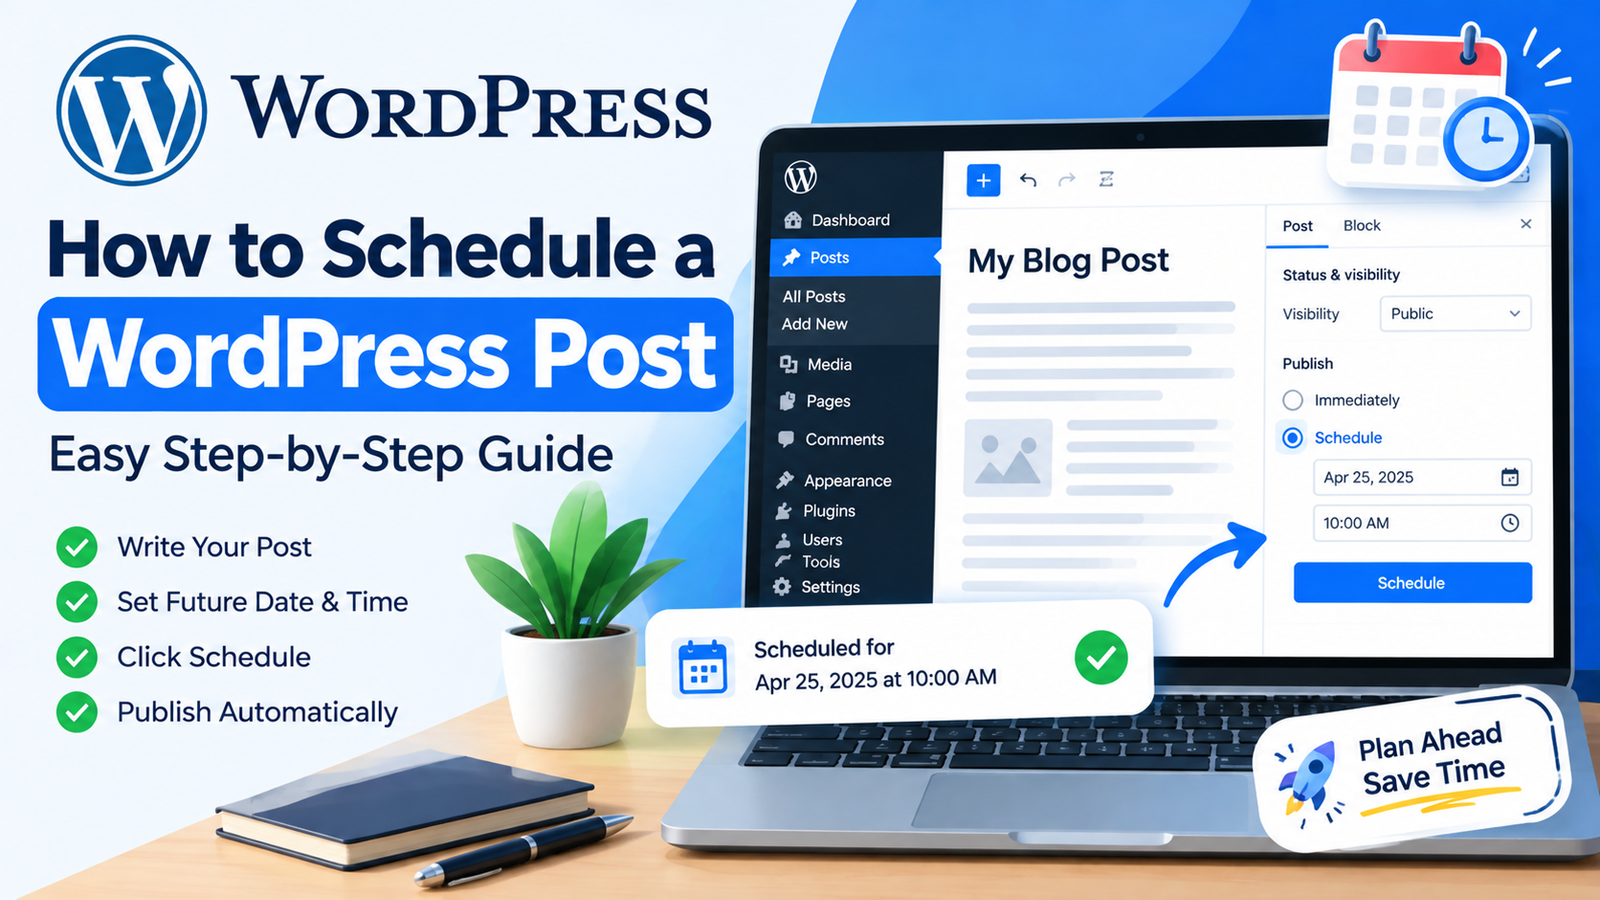
Look at the settings panel on the right side of the WordPress editor.
Under the publishing settings, you should find the option for the publication date and time.
Depending on your WordPress version and editor interface, the wording or location may look slightly different.
Instead of publishing the post immediately, select the option that allows you to choose a future date and time.
Step 5: Choose a Date
Select the date when you want your post to become publicly available.
For example, if today is Monday and you want the article to publish on Friday, select Friday as the publication date.
Choose a date that fits your content schedule.
Step 6: Choose a Time
After selecting the date, choose the exact time when you want WordPress to publish the post.
For example, you might choose 9:00 AM.
Pay attention to your website’s configured time zone. The scheduled publishing time is based on the WordPress site’s time settings.
Step 7: Schedule the Post
After choosing the future date and time, click Schedule.
WordPress will save the post as scheduled instead of publishing it immediately.
You should now see the scheduled date in the post settings.
Step 8: Check Your Scheduled Posts
You can check your scheduled content by going to Posts > All Posts.
Look for the post you just scheduled. Its status should show that it is scheduled rather than published or saved as a draft.
This gives you an opportunity to confirm that the correct article, date, and time were selected.
How to Change a Scheduled Post
Plans can change, and you may want to publish your article earlier or later.
To change a scheduled post, open it from Posts > All Posts.
Change the date or time in the publishing settings. Then save the updated schedule.
You can also choose to publish the post immediately if you no longer want to wait for the scheduled time.
How to Cancel a Scheduled WordPress Post
If you decide not to publish an article automatically, you can cancel its schedule.
Open the scheduled post and change its status back to a draft. Save the changes.
The article will remain in your WordPress dashboard, but it will not be published at the previously selected time.
You can edit it and schedule it again later.
Things to Check Before Scheduling
Before scheduling your post, take a few minutes to review everything.
Check the article title, content, headings, images, internal links, and external links. Make sure the featured image is correct and that your SEO settings are complete.
Also check the post category and tags if your website uses them.
Finally, confirm the scheduled date and time. A small mistake in the schedule can cause your article to publish earlier or later than expected.
Use a Consistent Publishing Schedule
Scheduling becomes even more useful when you use a consistent publishing routine.
For example, you could publish one article every Monday and Thursday. You can prepare both articles in advance and schedule them for their respective dates.
A consistent schedule can make your website easier to manage and help you stay organized.
However, focus on publishing useful content rather than scheduling articles simply to increase the number of posts.
Final Thoughts
Learning how to schedule a WordPress post is a simple way to save time and organize your publishing routine. WordPress includes this feature by default, so you can schedule future posts without installing an extra plugin.
Simply create or open your post, review the content, choose a future date and time, and click Schedule. You can later change the scheduled time, publish the post immediately, or return it to draft status.
With a well-planned publishing schedule, you can prepare content in advance and keep your WordPress website updated consistently.