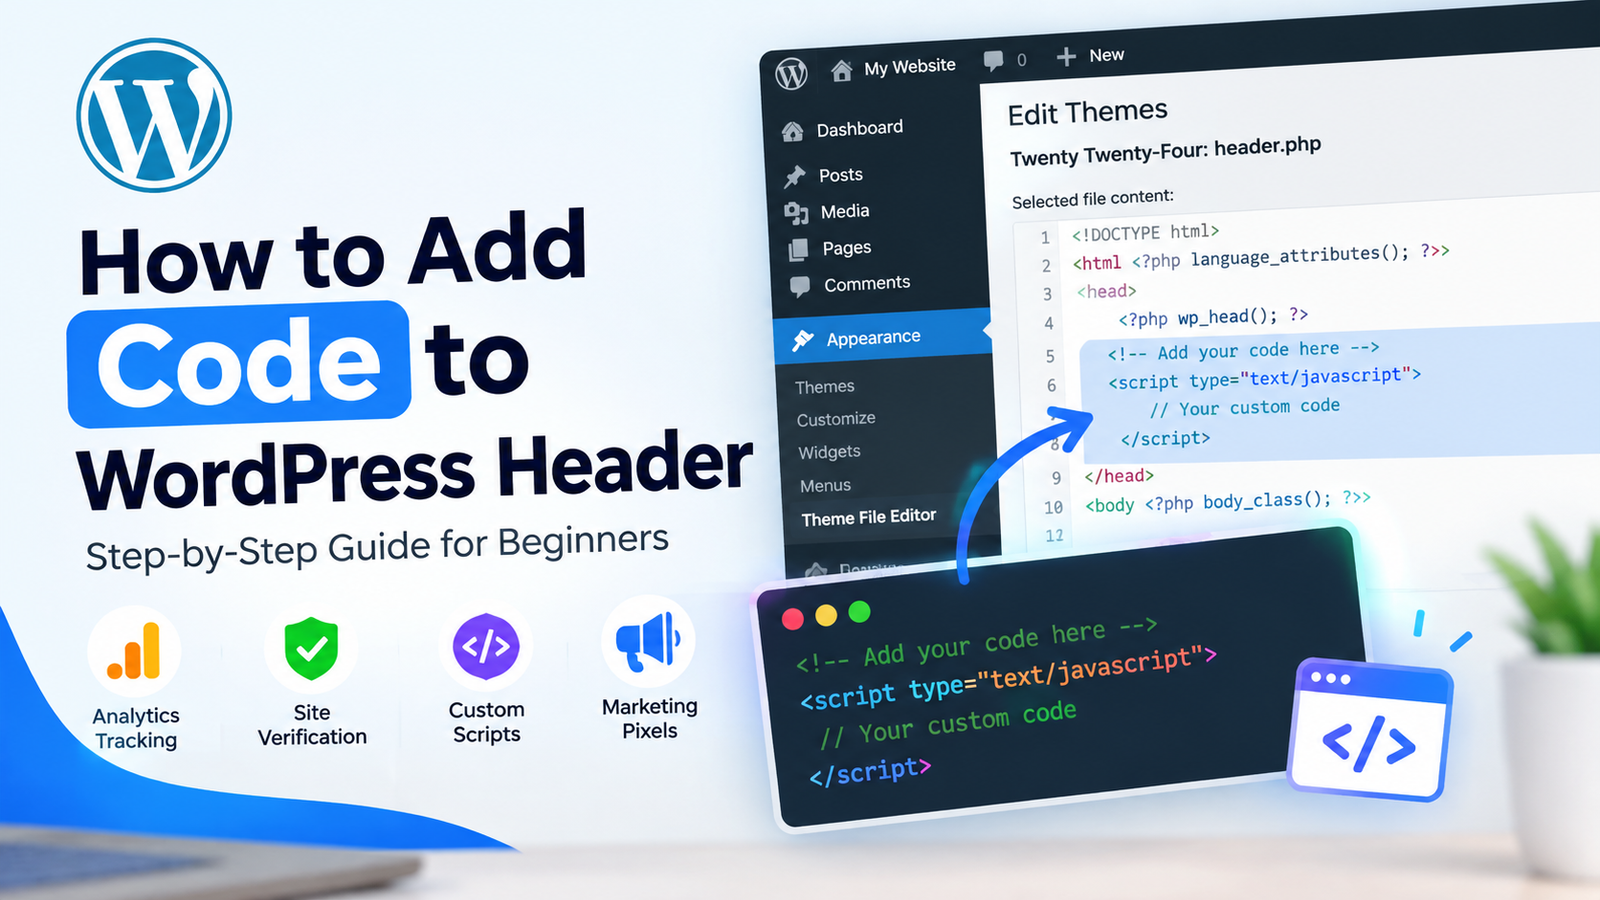
Adding code to the WordPress header is a common task for website owners. You may need to add a verification code, tracking script, custom CSS, JavaScript, or another piece of code to your website. However, editing WordPress files without knowing the correct method can cause errors.
Fortunately, there are several safe ways to add code to the WordPress header. In this guide, you will learn the easiest methods and how to choose the right one for your website.
Why Add Code to the WordPress Header?
The header is an important part of a WordPress website. Code placed inside the header can load across your website pages, depending on how the code is added.
Website owners commonly add code to the header for:
- Google Search Console verification
- Google Analytics tracking
- Facebook or other marketing pixels
- Custom JavaScript
- Website verification codes
- Custom CSS or scripts
- Third-party services
Before adding any code, always make sure you understand where the code should be placed. Adding code in the wrong location can affect your website.
Method 1: Use a Header and Footer Plugin
The easiest method for beginners is using a plugin designed to insert code into the header and footer.
First, log in to your WordPress dashboard. Go to Plugins > Add New Plugin and search for a trusted header and footer code plugin.
Install and activate the plugin. After activation, open its settings page. Look for a section such as Header, Scripts in Header, or Head Code.
Paste your code into the appropriate header field and save the changes.
This method is useful because your custom code can remain separate from your theme files. It can also be easier to manage if you are not comfortable editing PHP files.
For additional tips, you can follow this WordPress header code guide to understand common header-code placement options.
Method 2: Edit the Theme Header File
Another option is to add code directly to your theme’s header file. However, this method requires more care.
From your WordPress dashboard, go to Appearance > Theme File Editor, if your hosting environment allows access to it. Find the file named header.php.
Inside the file, you will usually see the opening <head> tag. Code that needs to be placed in the HTML head section should generally be inserted in the correct location before the closing </head> tag.
After adding the code, save the file and check your website.
However, directly editing theme files is not always recommended for beginners. A theme update can overwrite changes made directly to theme files. A child theme can help preserve custom theme modifications.
Method 3: Use Your Theme’s Custom Code Options
Some modern WordPress themes provide their own settings for adding custom code. Check the theme’s customization or settings area to see whether it includes a custom header or script section.
If your theme provides this feature, it can be a convenient option because you do not need to edit the main theme files manually.
The exact location depends on the theme you are using. Therefore, check the theme documentation if you cannot find the option.
How to Add Google Verification Code to the Header
One common reason for adding code to the WordPress header is website verification.
If a service gives you a meta tag or verification code, copy the complete code provided by that service. Then add it to the website’s <head> section using a suitable plugin or your theme’s available header settings.
Save the changes and return to the verification service. Follow its instructions to complete verification.
Do not modify the verification code unless the service specifically tells you to do so.
Important Safety Tips
Always create a backup before making changes to important WordPress files. If possible, test changes on a staging website before applying them to your live site.
You should also avoid adding code from unknown sources. Malicious scripts can compromise your website, collect information, or create security problems.
If you edit header.php directly, be especially careful with HTML, PHP, and JavaScript syntax. A small mistake can cause unexpected website errors.
How to Check if the Code Was Added
After saving your code, open your website in a browser and clear your browser cache if necessary.
You can inspect the page source or use your browser’s developer tools to check whether the code appears in the HTML head section.
If the code does not appear, check that you placed it in the correct field and saved the settings. Some caching plugins may also require you to clear the website cache.
Conclusion
Knowing how to add code to WordPress header can help you connect verification services, analytics tools, tracking systems, and other third-party services to your website.
For beginners, a trusted header-code plugin is usually the simplest approach. More experienced users can use a child theme or appropriate theme settings. Whatever method you choose, always back up your website and verify that the code comes from a trusted source.
With the right approach, you can add header code safely without unnecessarily changing important WordPress files.