WordPress plugins add useful features to a website, but sometimes a plugin can cause errors, slow down your site, or conflict with another plugin. In these situations, disabling the problematic plugin can help you find and fix the issue.
If you are wondering how to disable WordPress plugins, the process is simple and does not require coding. WordPress allows you to deactivate plugins directly from the dashboard. You can also disable plugins when you cannot access your WordPress admin area.
Why Disable a WordPress Plugin?
There are several reasons why you may need to disable a plugin. A plugin might stop working after a WordPress update, create a conflict with your theme, or cause unexpected errors.
You may also want to temporarily disable a plugin before troubleshooting a website problem. Deactivation is usually safer than deleting the plugin because your plugin settings and files remain available.
For example, if your website suddenly shows an error after installing a new plugin, disabling that plugin can help you determine whether it is responsible.
How to Disable a WordPress Plugin from the Dashboard
The easiest way to disable a WordPress plugin is through the WordPress admin dashboard. Follow these steps.
Step 1: Log In to WordPress
First, log in to your WordPress website using your administrator account. Enter your username and password to access the WordPress dashboard.
Step 2: Open the Plugins Section
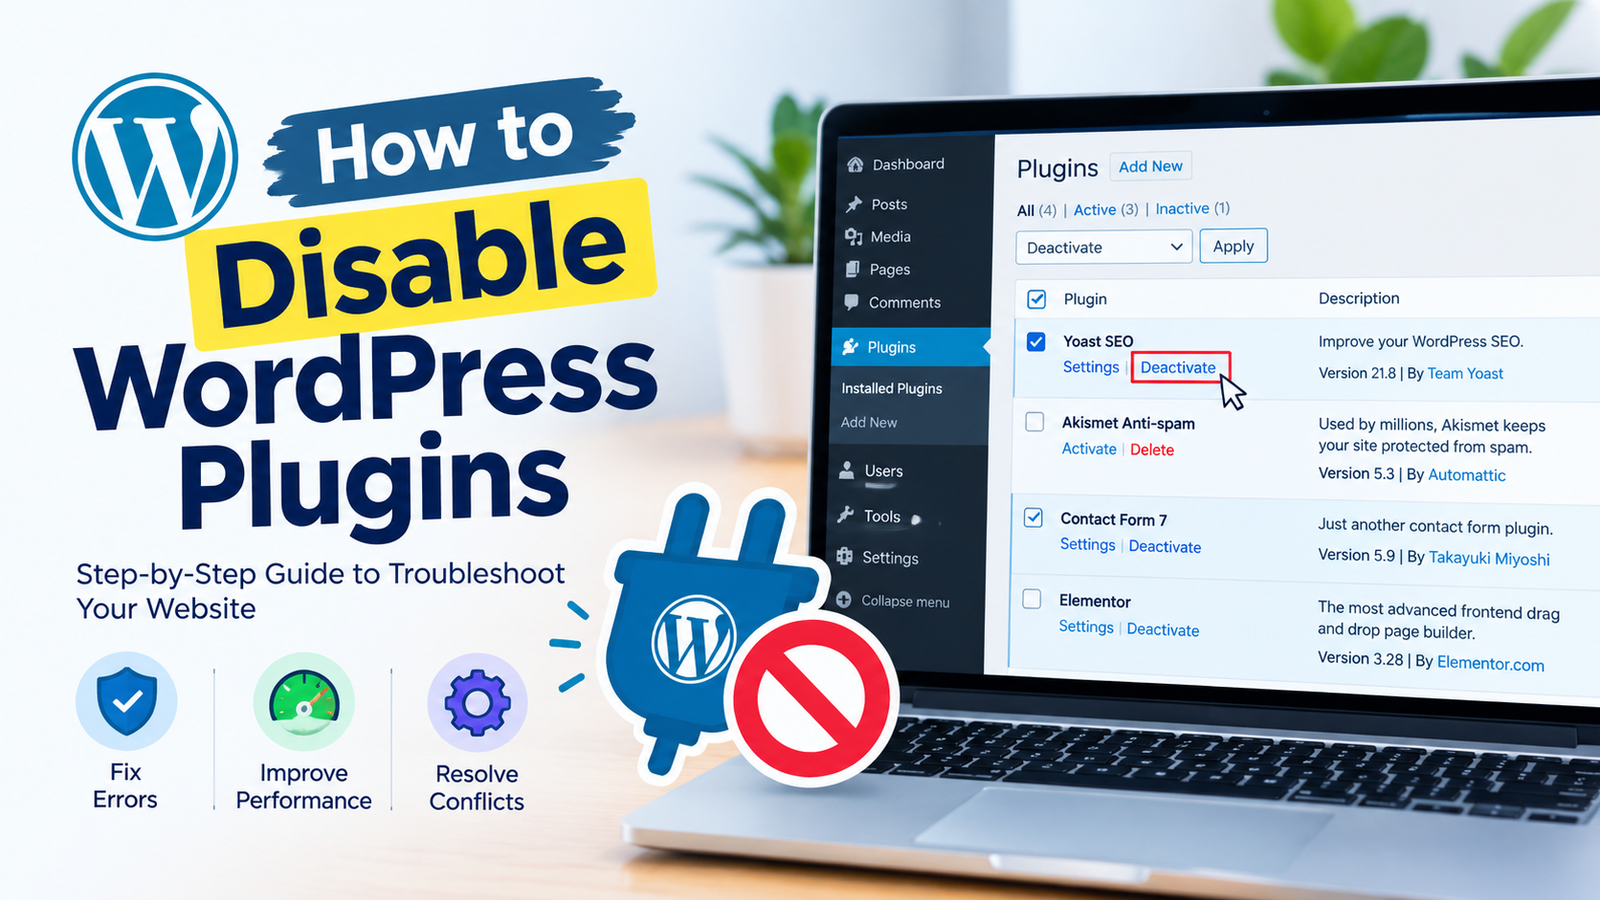
From the dashboard menu, go to Plugins and then select Installed Plugins.
You will see a list of all plugins currently installed on your website. Each plugin normally has options such as Activate, Deactivate, Settings, or Delete.
Step 3: Deactivate the Plugin
Find the plugin you want to disable. Click the Deactivate option below its name.
WordPress will immediately deactivate the plugin. Its files will remain installed, but its features will no longer run on your website.
Step 4: Check Your Website
After deactivating the plugin, open your website in a new browser tab. Check whether the problem has disappeared.
If the error is gone, the disabled plugin may be causing the problem. You can then update it, check its settings, contact the developer, or look for an alternative plugin.
How to Disable Multiple WordPress Plugins
Sometimes you need to disable several plugins at once. WordPress makes this easy with its bulk action feature.
Go to Plugins → Installed Plugins and select the plugins you want to disable. Then choose Deactivate from the Bulk Actions dropdown and click Apply.
This method is useful when troubleshooting because you can quickly turn off several plugins without opening each one individually.
What If You Cannot Access the WordPress Dashboard?
A serious plugin conflict can sometimes prevent you from accessing the WordPress admin area. In that situation, you can disable plugins through your hosting account’s File Manager or an FTP client.
Open your website’s WordPress files and locate the wp-content folder. Inside it, find the plugins folder.
You can rename the plugins folder to something such as plugins-disabled. WordPress will no longer be able to load the plugins, which can help you regain access to your dashboard.
Once you regain access, you can restore the original folder name and troubleshoot the plugins individually.
How to Find the Problematic Plugin
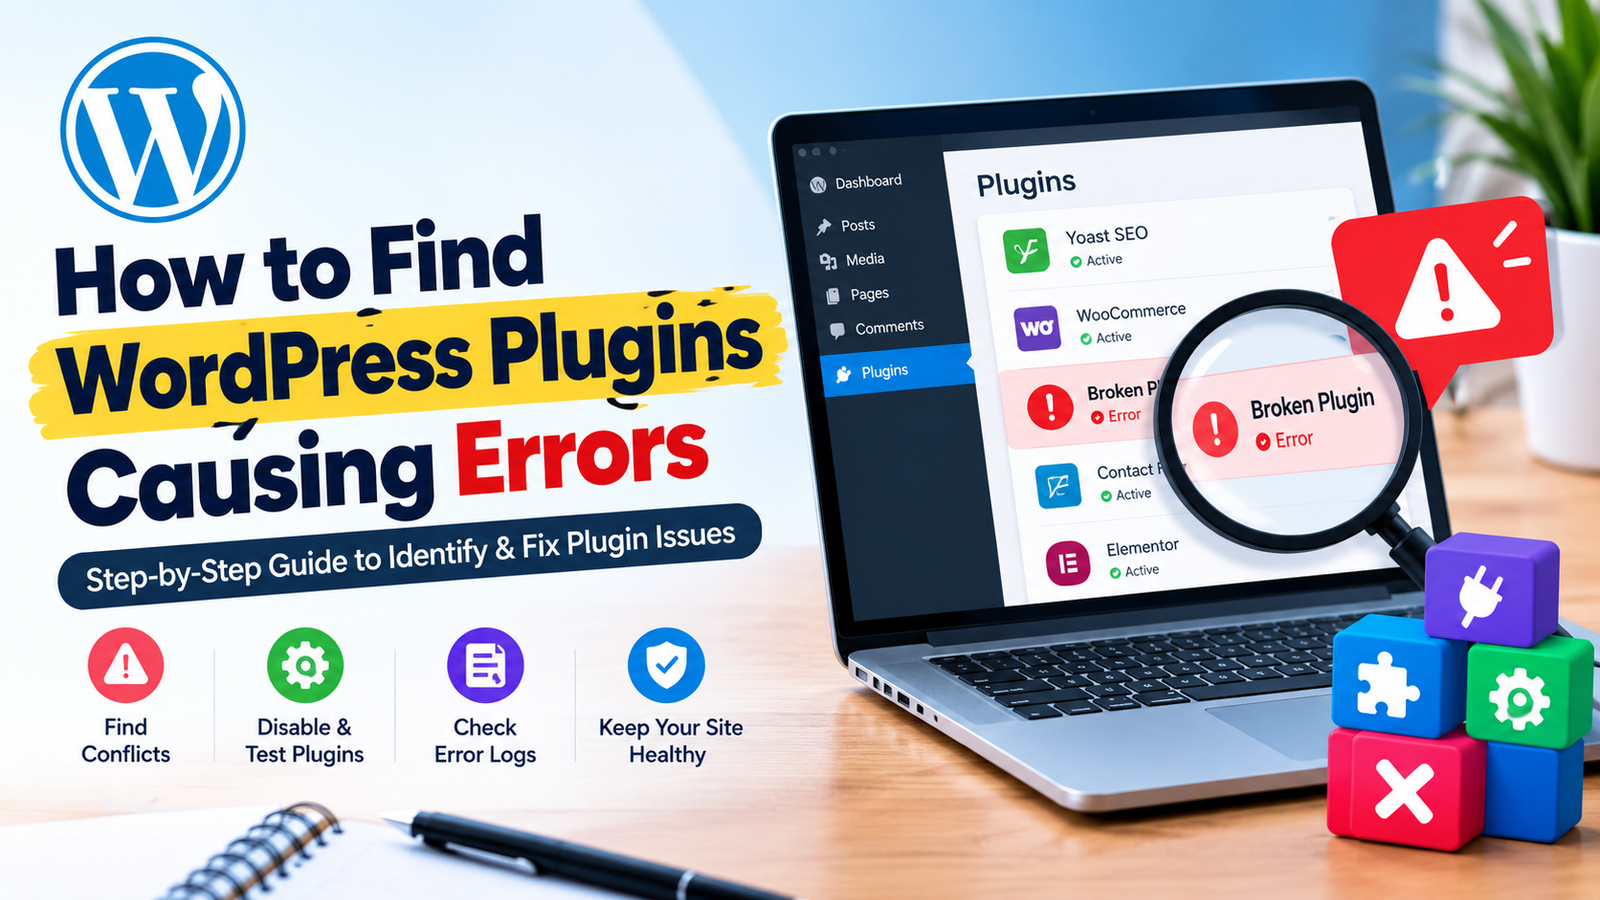
If disabling all plugins fixes the problem, you can identify the faulty plugin by activating them one at a time.
Activate one plugin and check your website. If everything works correctly, activate the next plugin. Continue this process until the problem appears again.
The last plugin you activated is likely related to the issue. You can then leave it disabled while checking for an update or contacting the plugin developer.
For additional help, follow these WordPress plugin troubleshooting steps to identify common conflicts and website errors.
Should You Delete a Disabled Plugin?
No. Deactivating and deleting a plugin are two different actions.
When you deactivate a plugin, it remains installed on your website but stops running. When you delete it, its plugin files are removed.
If you only want to troubleshoot a problem or temporarily stop a feature, deactivation is usually the better option. If you no longer need a plugin, you can consider deleting it after making sure it is not required by your website.
Conclusion
Knowing how to disable WordPress plugins is an important skill for every WordPress website owner. You can deactivate a plugin directly from the WordPress dashboard in just a few clicks.
If you cannot access the dashboard, you can temporarily disable plugins through your hosting File Manager or FTP. After identifying the problematic plugin, update it, check its configuration, or replace it with a reliable alternative.
Always test your website after disabling or reactivating plugins so you can confirm that everything is working correctly.