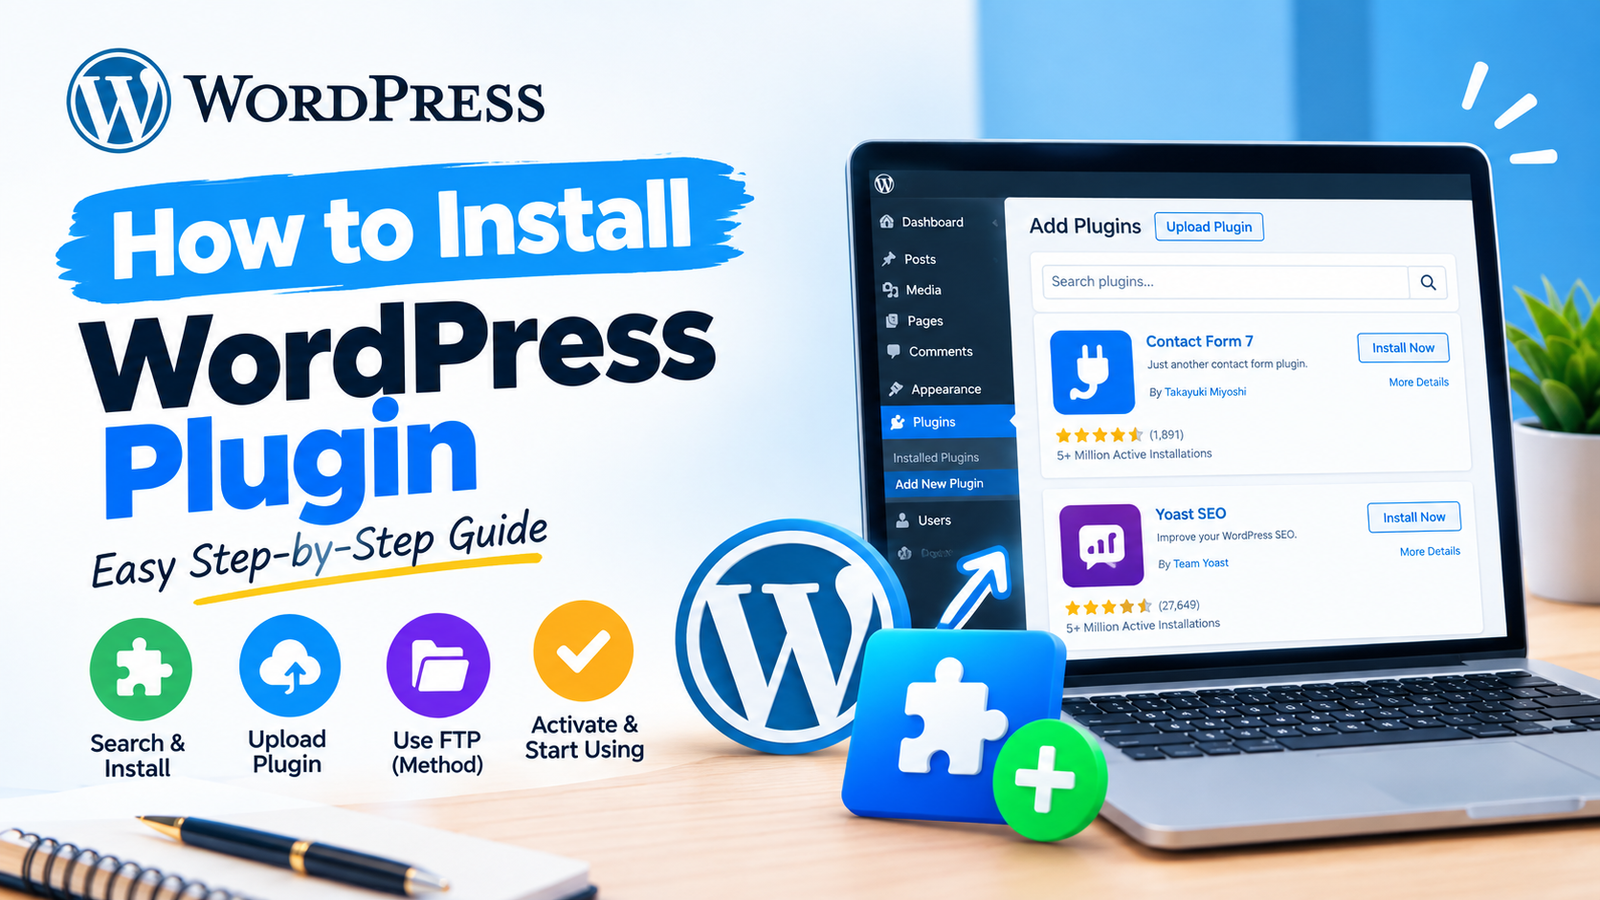
WordPress plugins make it easy to add new features to your website without writing complicated code. Whether you want to improve SEO, add a contact form, increase website security, or create an online store, there is likely a plugin available for your needs. If you are new to WordPress, installing your first plugin may seem confusing. Fortunately, the process is simple and usually takes only a few minutes.
In this guide, you will learn how to install WordPress plugin using the WordPress dashboard. We will also explain how to upload a plugin manually and what to check after installation.
What Is a WordPress Plugin?
A WordPress plugin is an extension that adds extra functionality to your website. Plugins can perform simple tasks, such as adding social sharing buttons, or more advanced functions, such as creating an online store.
There are thousands of free and premium plugins available. Before installing one, always check its ratings, reviews, update history, and compatibility with your WordPress version.
How to Install WordPress Plugin From the Dashboard
The easiest method is to install a plugin directly from your WordPress dashboard. Follow these steps.
Step 1: Log In to WordPress
First, log in to your WordPress admin dashboard. You can usually access it by visiting your website’s login page and entering your username and password.
Once logged in, you will see the WordPress dashboard with different options on the left side.
Step 2: Open the Plugins Section
From the dashboard, go to Plugins and click Add New Plugin. You will be taken to the plugin directory where you can search for plugins.
Use the search box to enter the name or function of the plugin you want to install.
Step 3: Search for Your Plugin
Type the plugin name into the search box. WordPress will display matching plugins along with information such as ratings, active installations, and update details.
Choose a trusted plugin that meets your requirements. If you are unsure which plugin to use, check its reviews and recent updates before installing it.
Step 4: Click Install Now
After finding the plugin, click the Install Now button. WordPress will download and install the plugin automatically.
The installation normally takes only a few seconds. Once it is complete, the button will change to Activate.
Step 5: Activate the Plugin
Click Activate to enable the plugin on your website.
Installation and activation are two different steps. A plugin can be installed but remain inactive. You need to activate it before its features become available.
After activation, some plugins add a new menu item to the WordPress dashboard. Others may place their settings under an existing menu.
How to Upload a WordPress Plugin Manually
Sometimes you may download a plugin as a ZIP file from an official website or a trusted developer. In this case, you can upload it manually.
Go to Plugins > Add New Plugin and click Upload Plugin. Select the plugin’s ZIP file from your computer and click Install Now.
After WordPress finishes the installation, click Activate Plugin.
Make sure you upload the original ZIP file provided by the plugin developer. Avoid installing plugins downloaded from unknown or suspicious websites because they may contain malicious code.
How to Install a WordPress Plugin Using FTP
FTP is another option when you cannot install a plugin through the WordPress dashboard. First, download and extract the plugin ZIP file on your computer.
Connect to your website using an FTP client and navigate to:
wp-content/plugins/
Upload the extracted plugin folder into the plugins directory. After uploading, log in to your WordPress dashboard and go to Plugins.
You should see the newly uploaded plugin in the list. Click Activate to enable it.
What to Do After Installing a Plugin
After activating a plugin, check its settings and configure the options according to your needs. Some plugins work immediately, while others require additional setup.
It is also a good idea to visit your website and test the plugin’s main features. Make sure it does not create errors or conflict with your theme or other plugins.
For more useful WordPress tips, check this WordPress plugin installation guide to make managing your website easier.
Keep Your Plugins Updated
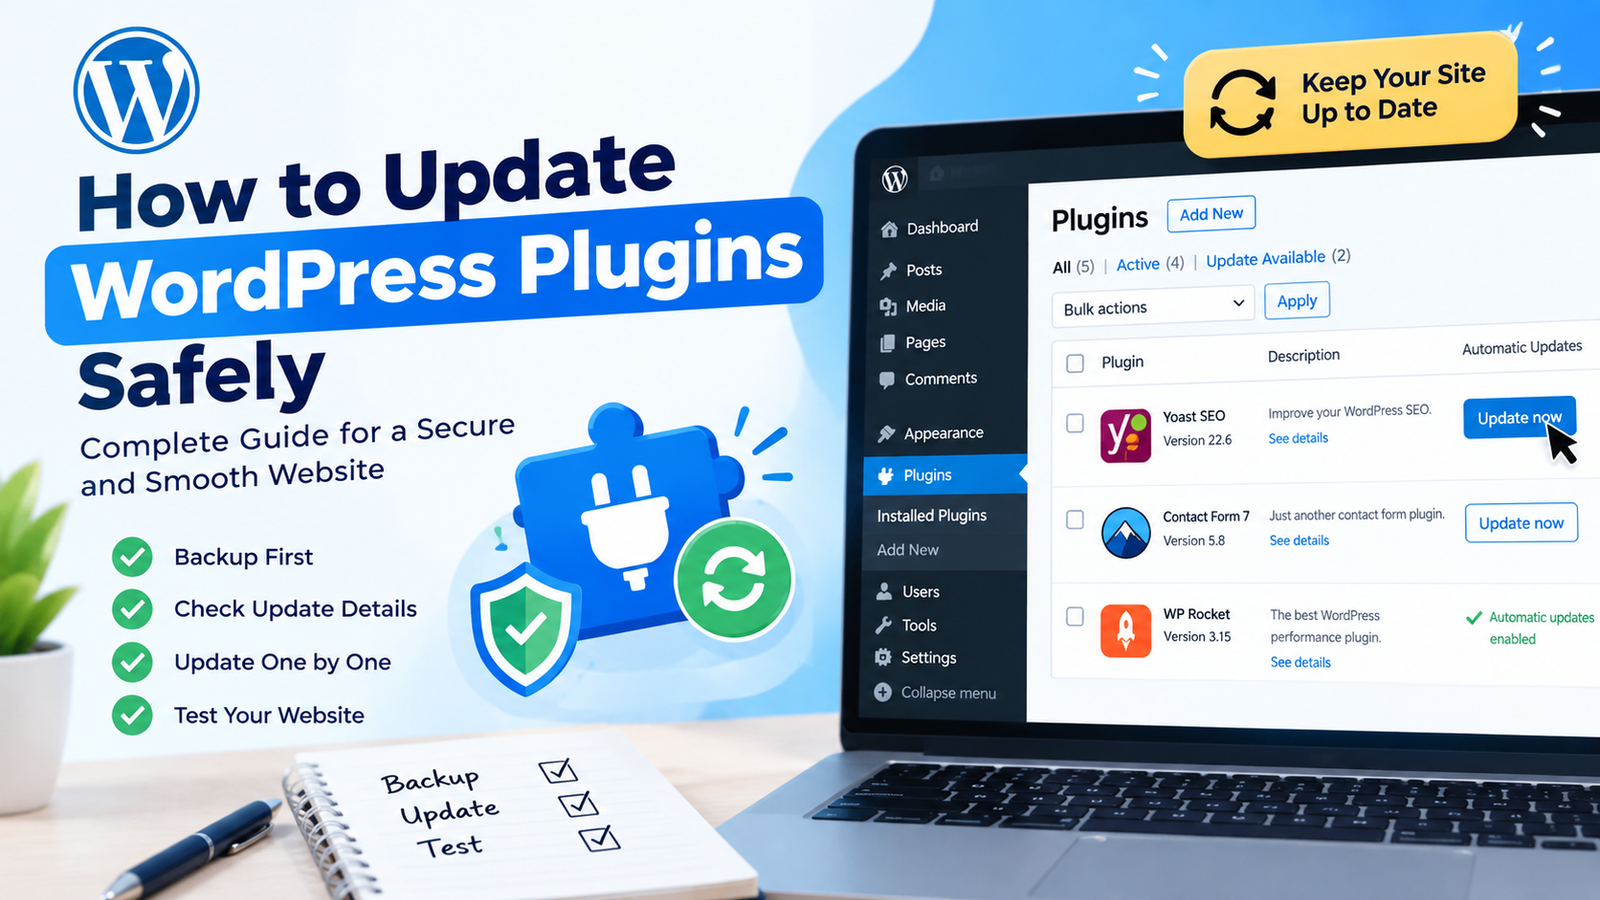
Installing a plugin is only the beginning. You should keep your plugins updated to receive security improvements, bug fixes, and new features.
Before updating an important plugin, consider creating a backup of your website. This gives you a way to restore your site if an update causes compatibility problems.
You should also remove plugins that you no longer use. Keeping unnecessary plugins installed can make your WordPress dashboard harder to manage and may increase security risks.
Final Thoughts
Learning how to install WordPress plugin is an essential skill for every WordPress website owner. The easiest method is through Plugins > Add New Plugin, where you can search for a plugin, install it, and activate it within a few clicks.
If you have a ZIP file, you can use the upload option, while FTP provides another method for advanced users. Always choose plugins from trusted sources, keep them updated, and remove plugins you no longer need.
With these simple steps, you can safely add useful features to your WordPress website without needing advanced technical knowledge.