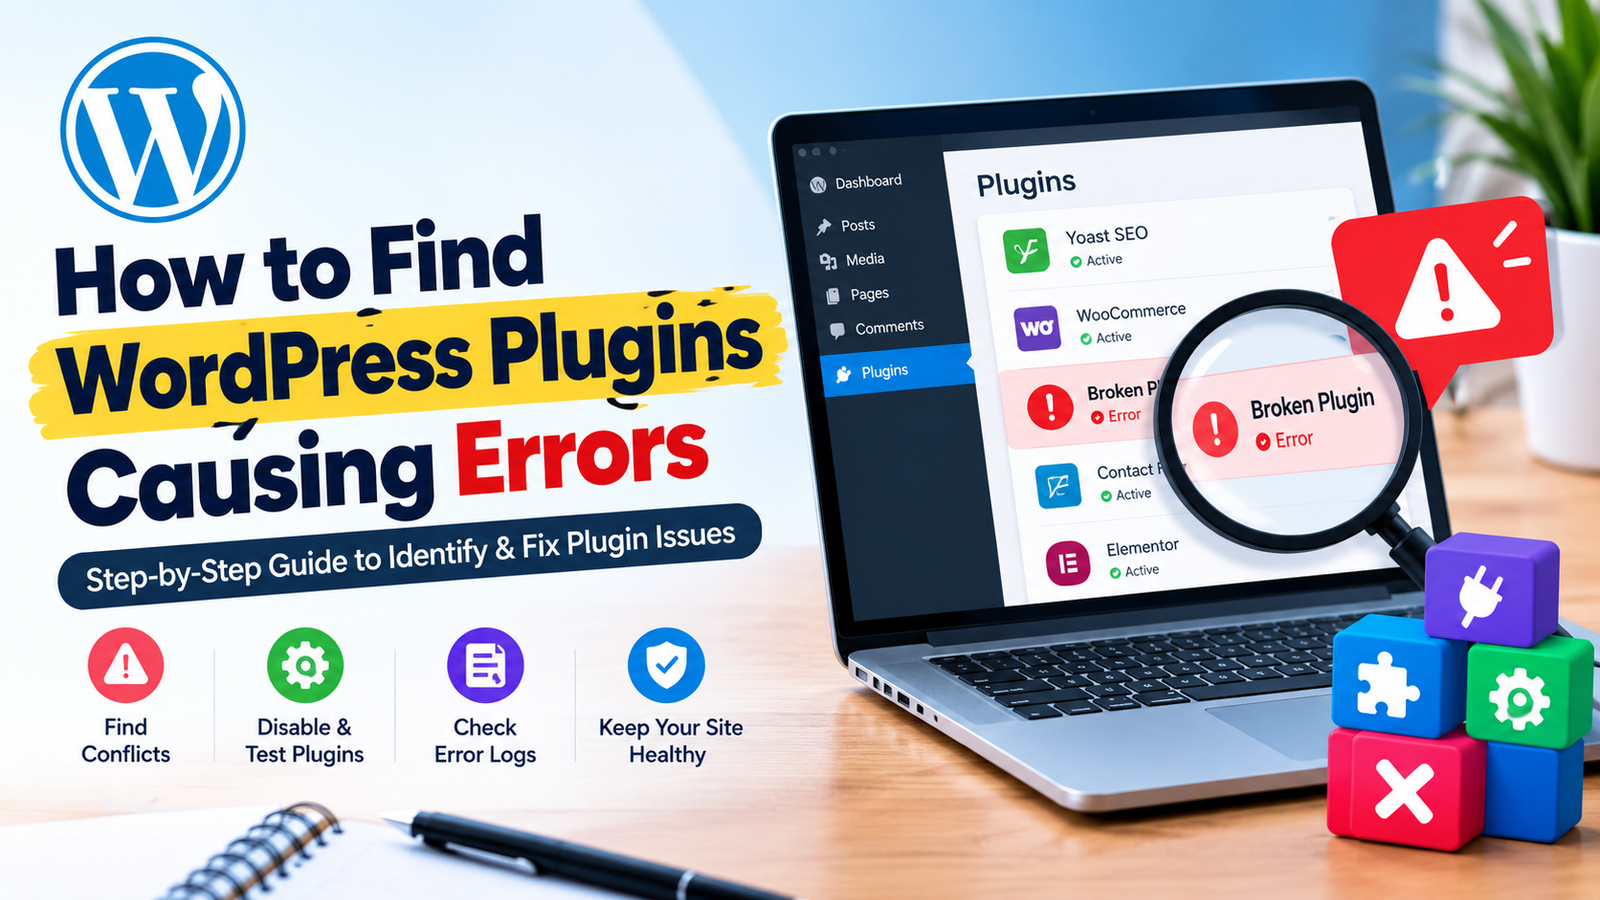
WordPress plugins add useful features to your website, but sometimes a plugin can cause errors, slow loading, broken layouts, or even a complete website crash. If your WordPress website suddenly stops working after installing or updating a plugin, the plugin may be the source of the problem.
Fortunately, you can identify the plugin causing errors without immediately rebuilding your website. In this guide, you will learn how to find WordPress plugins causing errors using simple troubleshooting methods.
Why Do WordPress Plugins Cause Errors?
Plugins can cause errors for several reasons. A plugin may not be compatible with your WordPress version, theme, PHP version, or another plugin. Conflicts can also happen after a plugin update.
Common signs of a plugin problem include:
- WordPress showing a critical error message
- Website pages not loading correctly
- Admin dashboard becoming inaccessible
- White screen appearing on the website
- Forms or buttons stopping working
- Website becoming unusually slow
- Layout or design elements breaking
Finding the problematic plugin quickly can help you restore your website and prevent further issues.
1. Check When the Error Started
First, think about what changed before the error appeared. Did you install a new plugin? Did you update an existing plugin? Did you update WordPress or your theme?
If the problem started immediately after a plugin installation or update, that plugin should be your first suspect.
You can also check your WordPress dashboard under Plugins > Installed Plugins to review recently installed or updated plugins.
2. Disable All WordPress Plugins
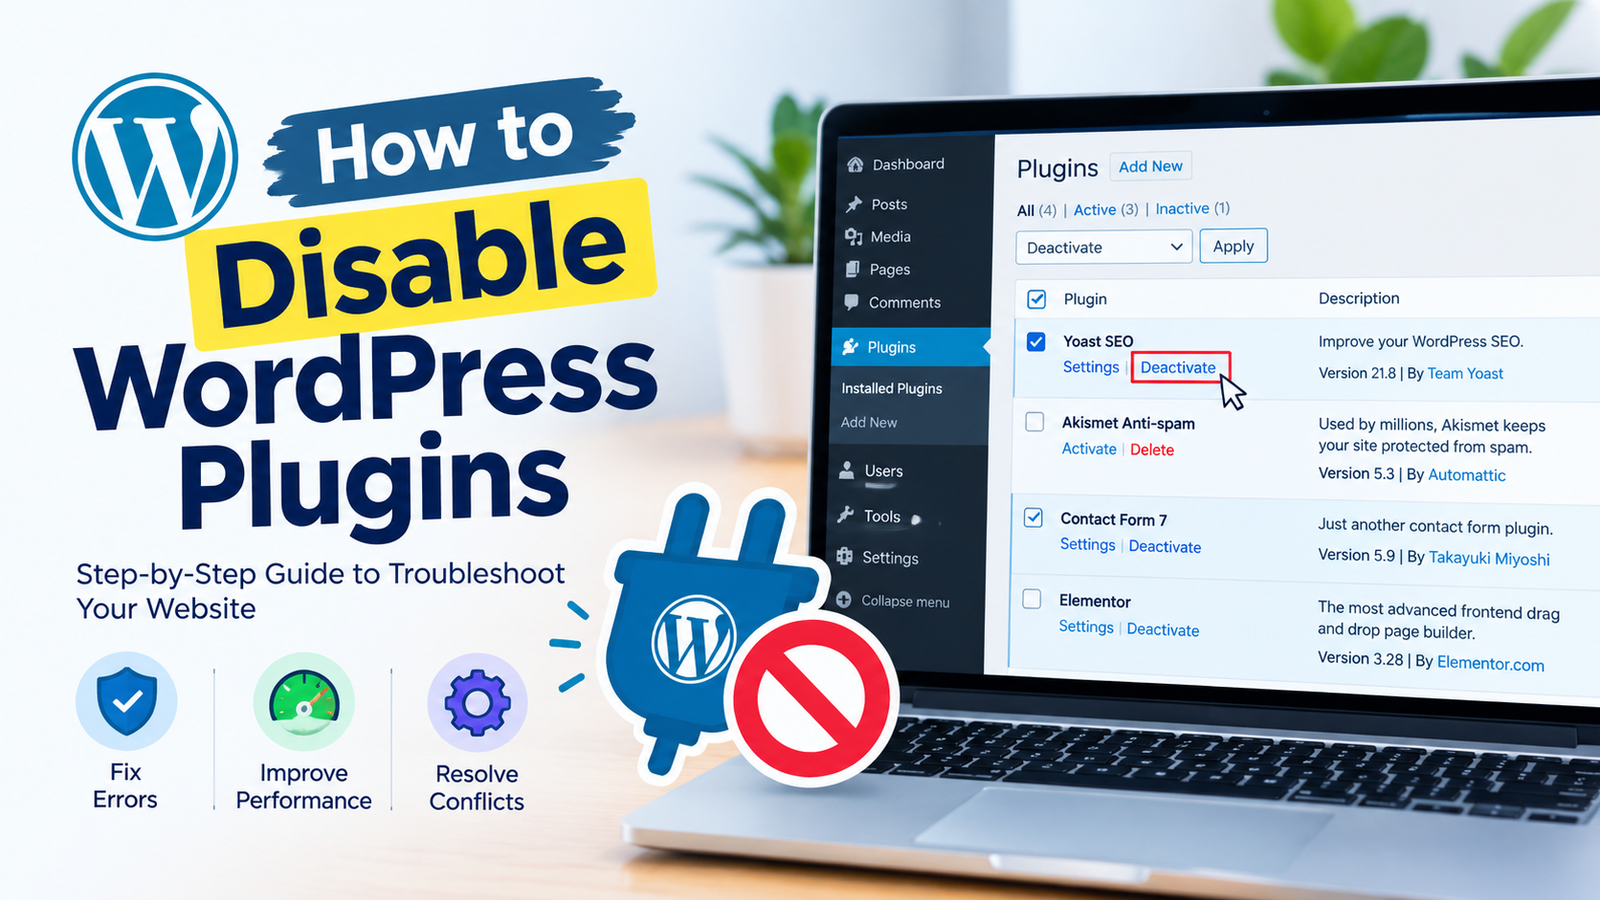
One of the easiest ways to identify a plugin conflict is to temporarily deactivate all plugins.
Go to your WordPress dashboard and open Plugins > Installed Plugins. Select the plugins, choose the Deactivate option, and apply the action.
After disabling the plugins, check your website again.
If the error disappears, a plugin is probably responsible. You can then activate the plugins one at a time to identify the exact plugin causing the problem.
3. Activate Plugins One by One
Once all plugins are disabled, activate them individually. After activating each plugin, visit the website and check whether the error returns.
For example, activate one plugin and test your website. If everything works, activate the next plugin and test again.
When the error appears again, the last plugin you activated is likely causing the conflict.
This method may take some time if you have many plugins, but it is one of the most reliable ways to find the source of a plugin-related problem.
4. Use WordPress Troubleshooting Tools
If you cannot access your website properly, you can use WordPress troubleshooting features or a suitable troubleshooting plugin. These tools can help identify conflicts while allowing you to test plugins without affecting normal visitors.
Before making major changes, create a backup of your website. A backup gives you a safe recovery point if something goes wrong during troubleshooting.
5. Check WordPress Error Logs
WordPress and your hosting provider may provide error logs that contain useful information about plugin problems.
Look for PHP errors, fatal errors, or messages mentioning a specific plugin file. If an error message includes a plugin folder or file name, it can provide a strong clue about which plugin is causing the issue.
For example, an error mentioning a plugin directory such as /wp-content/plugins/example-plugin/ may indicate that the particular plugin needs further investigation.
6. Check Plugin Compatibility
Sometimes a plugin is not necessarily broken; it may simply be incompatible with another part of your website.
Check whether the plugin supports your current WordPress version. You should also check when the plugin was last updated and whether the developer still maintains it.
Avoid using outdated plugins because they can create compatibility, security, and performance problems.
7. Switch to a Default Theme
If disabling plugins does not solve the problem, your theme could also be involved.
Temporarily switch to a default WordPress theme and test your website. If the error disappears, the problem may be related to the theme or a theme-plugin conflict.
This step helps you determine whether the issue is caused by a plugin alone or by the interaction between your theme and a plugin.
8. Replace or Remove the Problem Plugin
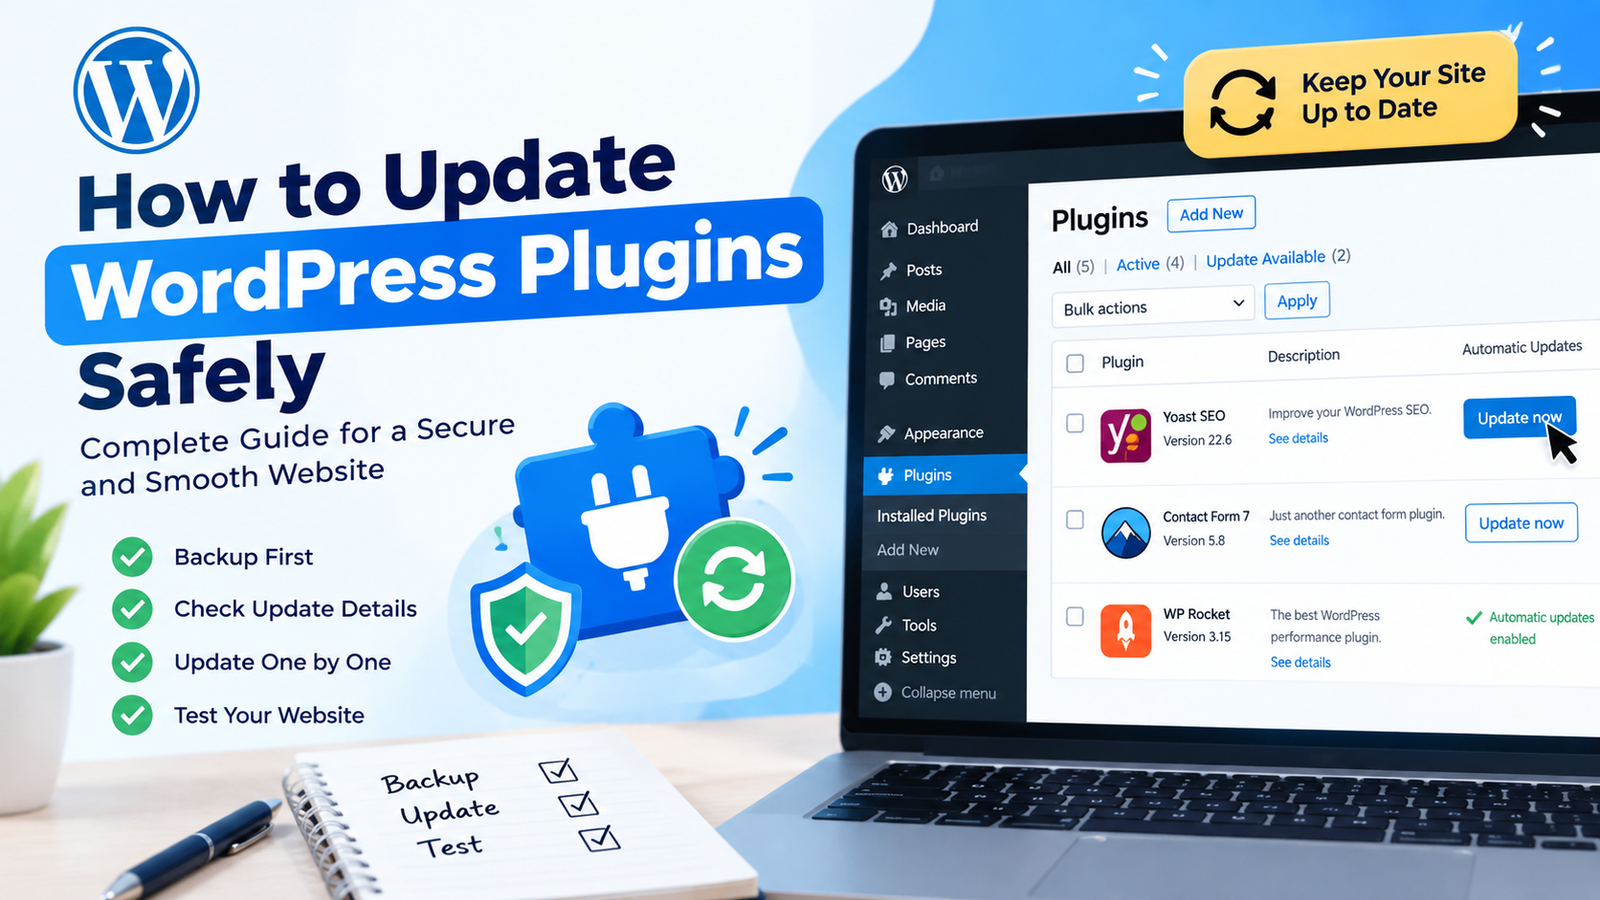
After identifying the problematic plugin, check whether an update is available. Developers often release updates to fix compatibility problems and bugs.
If updating does not solve the issue, look for an alternative plugin that provides similar functionality.
Before deleting a plugin, make sure you understand what data or settings it stores. Some plugins may require additional steps to remove their data safely.
Final Thoughts
Finding a plugin that causes WordPress errors can seem difficult, but a systematic troubleshooting process makes it much easier. Start by checking recent changes, deactivate all plugins, and then activate them one at a time.
You can also review error logs, test plugin compatibility, and temporarily switch themes. Once you identify the problematic plugin, update it or replace it with a reliable alternative.
If you regularly maintain your website, keeping WordPress, themes, and plugins updated can reduce compatibility problems and improve website security and performance.