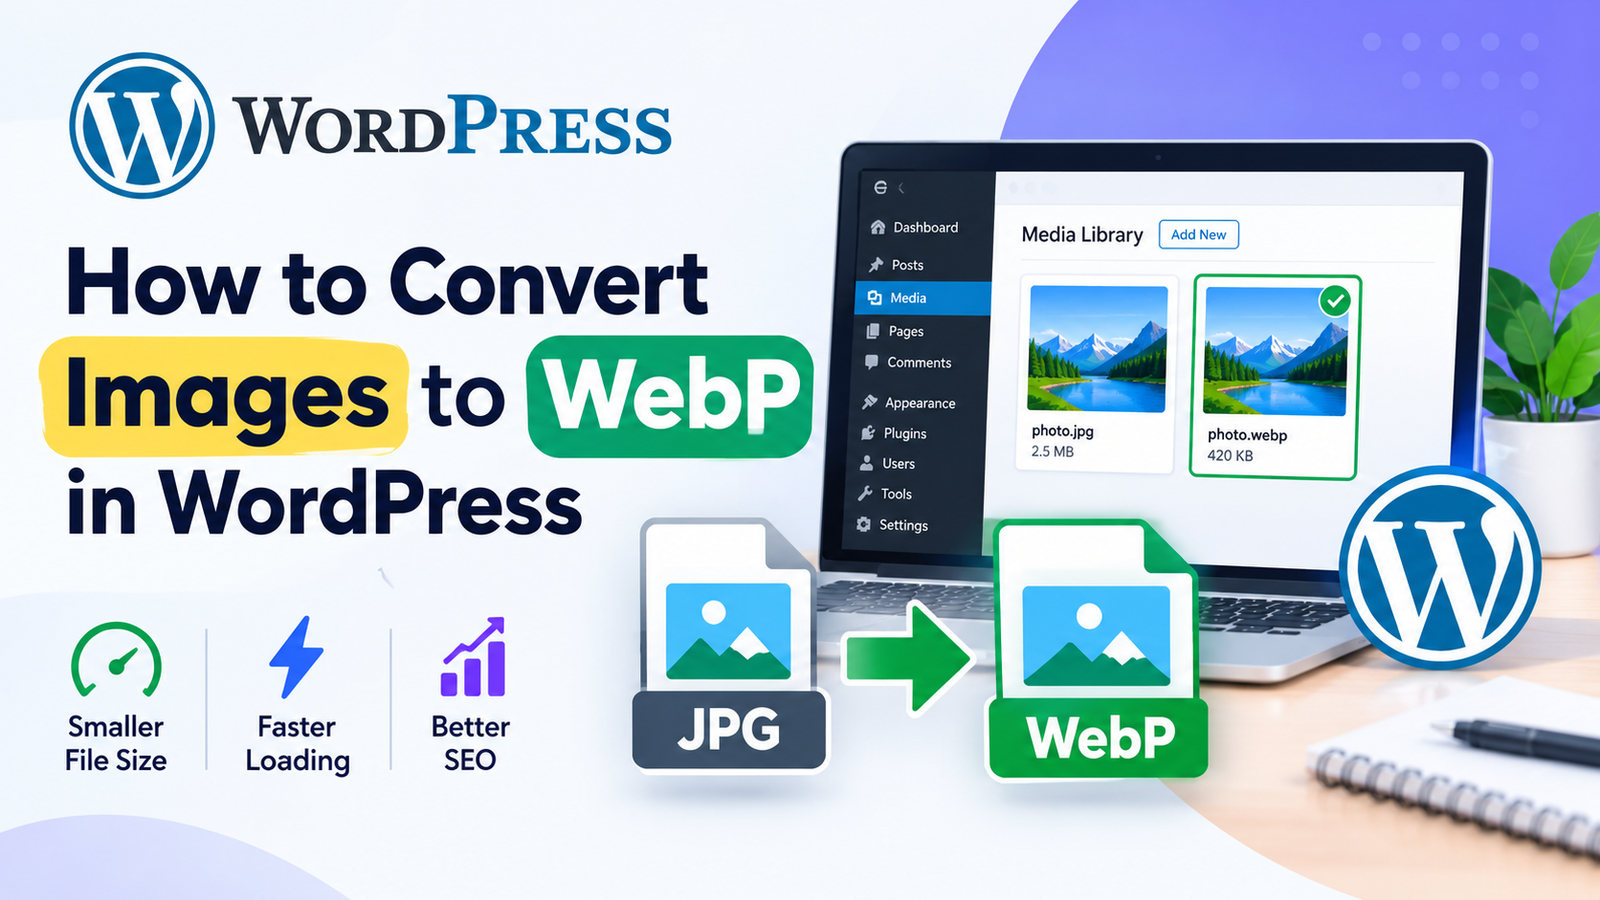
Images are an important part of almost every modern website. They make blog posts more attractive, explain ideas visually, and improve the overall user experience. However, large image files can also make your WordPress website slower.
One effective solution is to convert images to the WebP format. WebP can provide smaller image files while maintaining good visual quality. As a result, your pages may load faster and use less bandwidth.
If you want to learn how to convert images to WebP in WordPress, this guide explains several simple methods you can use.
What Is WebP?
WebP is a modern image format developed for the web. It is designed to provide smaller file sizes while maintaining good image quality.
Compared with traditional formats such as JPEG and PNG, WebP can often produce a more efficient image file. This makes it useful for websites that contain many photos, graphics, and other visual content.
WebP can also support transparency, which makes it useful for certain images that traditionally use PNG.
Why Convert Images to WebP?
Converting images to WebP can provide several benefits for your WordPress website.
Smaller image files generally require less data to download. Therefore, visitors may be able to load your pages more quickly, especially when using mobile devices or slower internet connections.
Other benefits include:
- Smaller image file sizes
- Faster page loading
- Lower bandwidth usage
- Better mobile performance
- Reduced hosting storage requirements
- Improved user experience
Image optimization is only one part of website performance, but it can make a noticeable difference when your website contains many images.
Method 1: Use a WordPress Image Optimization Plugin
One of the easiest ways to convert images to WebP is by using a WordPress image optimization plugin.
Many image optimization plugins can automatically create WebP versions when you upload JPEG or PNG images. Some plugins can also convert images that are already stored in your Media Library.
To use this method, first log in to your WordPress dashboard. Go to Plugins and select Add New Plugin.
Search for a reputable image optimization plugin and install it. After activation, open the plugin settings and look for options related to WebP, next-generation images, or image conversion.
Enable the WebP feature if it is available. The exact settings can vary depending on the plugin you choose.
Method 2: Convert Existing Images
If your website already contains many images, you may not need to upload everything again.
Some WordPress optimization plugins provide a bulk optimization option. This feature can scan your existing Media Library and create optimized WebP versions.
Before performing a bulk conversion, create a backup of your website. A backup gives you an extra layer of protection if something goes wrong.
After the conversion, check several pages on your website to make sure the images are displaying correctly.
Method 3: Convert Images Before Uploading
You can also convert images to WebP before uploading them to WordPress.
Several image editing and conversion tools can save images in WebP format. Open your original JPEG or PNG image in a compatible tool, choose WebP as the output format, and save the converted file.
After that, log in to WordPress and upload the WebP image through the Media Library.
This method gives you more control over the image quality and file size before the image reaches your website.
How to Upload a WebP Image to WordPress
Once you have a WebP file, uploading it is similar to uploading other images.
Open your WordPress dashboard and go to Media > Add New. Drag your WebP file into the upload area or select the file from your computer.
After the upload finishes, you can use the image inside your posts and pages.
You can also add descriptive alt text. Keep the alt text natural and explain what the image shows rather than filling it with unnecessary keywords.
Check WebP Image Quality
Converting an image to WebP does not mean you should ignore image quality.
After conversion, open the image and check details such as text, edges, colors, and small objects. If the image looks blurry or has visible compression artifacts, try converting it again with a higher quality setting.
The ideal result is a smaller file that still looks clear to visitors.
Keep Your Original Images
It is a good idea to keep a backup of your original JPEG or PNG files before converting them.
Your original files can be useful if you need to create a different version later. They also give you a backup if you are not satisfied with the WebP result.
However, avoid keeping unnecessary duplicate files inside your active website if they are not needed.
Test Your Website After Conversion
After converting your images to WebP, visit important pages on your website.
Check your homepage, blog posts, category pages, and pages with galleries or featured images. Make sure all images load correctly on both desktop and mobile devices.
You can also use website performance testing tools to compare your page speed before and after optimization.
Remember that WebP is not a complete replacement for every image optimization technique. Proper image dimensions, compression, caching, and other performance settings can also affect loading speed.
Final Thoughts
Learning how to convert images to WebP in WordPress can help you optimize your website’s images and reduce unnecessary file sizes. You can use a WordPress image optimization plugin, convert existing images in bulk, or create WebP files before uploading them.
For most beginners, an image optimization plugin is the easiest option because it can automate much of the process. Whichever method you choose, always check image quality and create a backup before making major changes.
By using properly optimized WebP images, you can create a faster and more efficient WordPress website while keeping your visual content attractive.