Tags are a useful way to organize and describe content on a WordPress website. They help identify specific topics, subjects, or details covered in a blog post. When used correctly, tags can make it easier for visitors to discover related content.
If you are wondering how to create tags in WordPress, the process is simple. WordPress lets you create tags from the dashboard or directly while writing a post. You can also edit, delete, and manage existing tags whenever needed.
In this guide, you will learn how to create tags in WordPress and use them properly on your website.
What Are Tags in WordPress?
Tags are keywords or short phrases that describe specific details of a post. Unlike categories, which are normally used to organize content into broader topics, tags can describe more specific subjects.
For example, a technology blog might have a category called “WordPress.” Individual posts in that category could use tags such as:
- WordPress plugins
- WordPress themes
- Website security
- WordPress tips
Tags help create connections between posts that cover similar subjects.
How to Create Tags in WordPress
Step 1: Log In to Your WordPress Dashboard
First, log in to your WordPress website.
Enter your WordPress username and password to access the dashboard. After logging in, you will see the main administration menu on the left side of the screen.
From this menu, you can manage posts, pages, media, comments, themes, plugins, and other website settings.
Step 2: Open the Tags Section
To create a tag from the WordPress dashboard, go to:
Posts > Tags
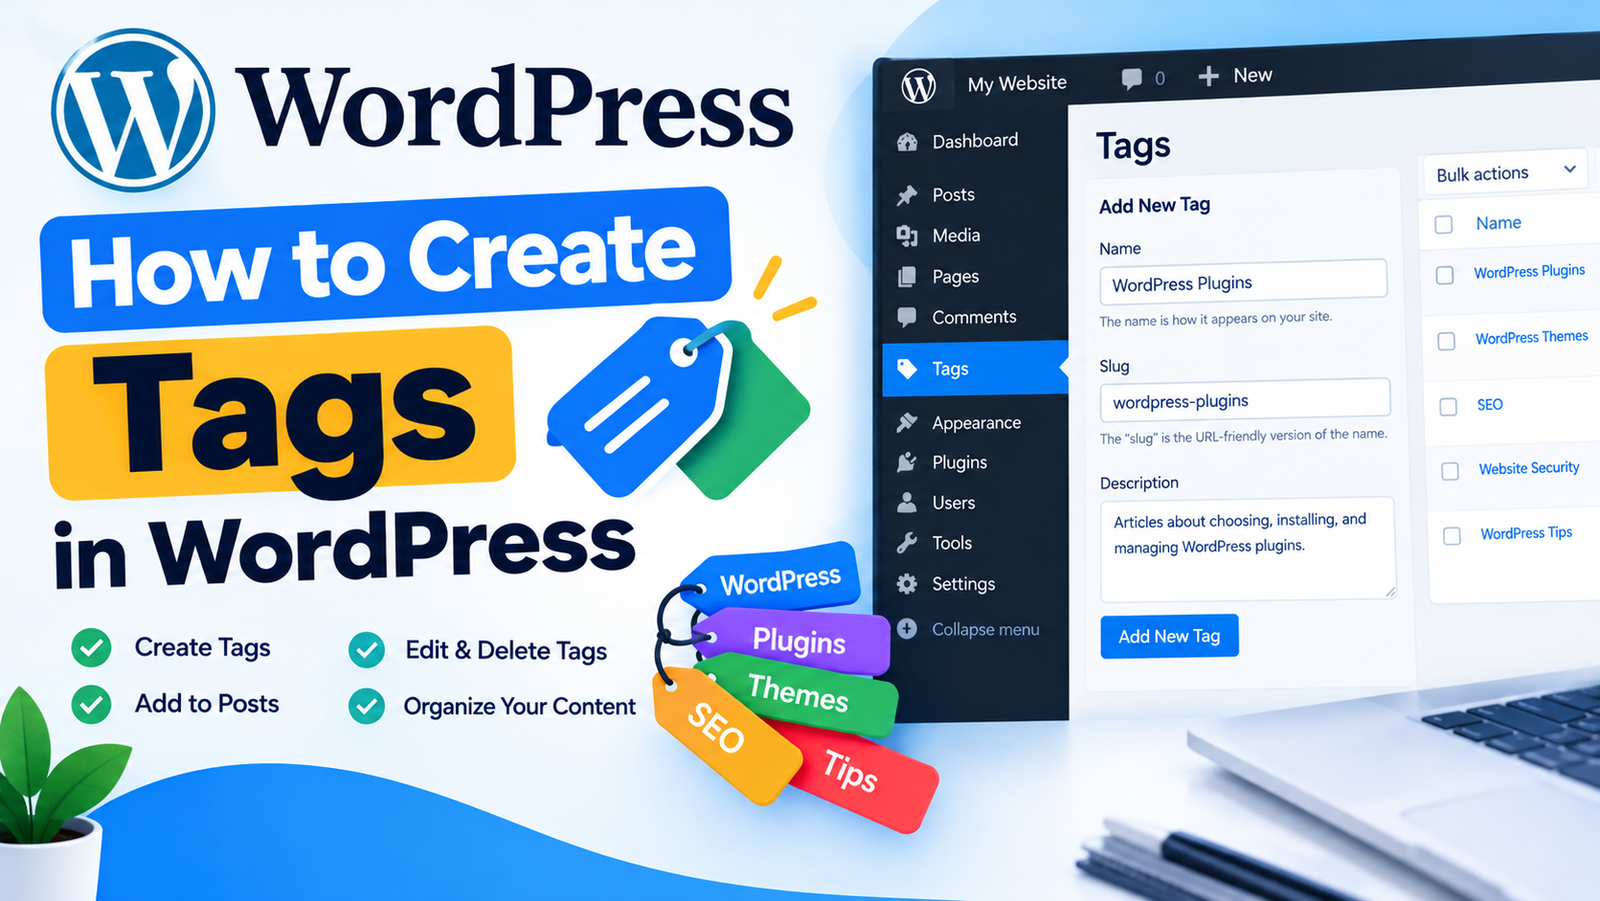
You will see the Tags management screen. Here, you can create new tags and manage tags that already exist.
The page normally contains fields for the tag name, slug, and description.
Step 3: Enter the Tag Name
In the Name field, enter the name of your tag.
Choose a short and relevant term that describes a specific topic in your content.
For example, if you regularly publish articles about WordPress plugins, you could create a tag called “WordPress Plugins.”
Avoid creating tags that are almost identical. Having too many similar tags can make your website structure unnecessarily complicated.
Step 4: Add a Tag Slug
The Slug is the URL-friendly version of the tag name.
For example, if your tag is:
WordPress Plugins
The slug could be:
wordpress-plugins
WordPress can automatically generate the slug, but you can change it if necessary.
Keep your slugs short, simple, and easy to understand.
Step 5: Add a Description
The Description field allows you to explain what the tag represents.
For example:
“This tag contains articles about choosing, installing, and managing WordPress plugins.”
Some WordPress themes display tag descriptions on tag archive pages, while others may not.
Step 6: Click Add New Tag
After entering the tag information, click Add New Tag.
WordPress will create the tag and add it to your list of available tags.
You can now use this tag when creating or editing posts.
How to Add Tags to a WordPress Post
You can also create or assign tags directly from the post editor.
Open an existing post or create a new one. In the post settings, find the Tags section.
Type the name of an existing tag and select it from the suggestions. If the tag does not exist, you may also be able to create a new tag directly from the editor.
After adding the appropriate tags, save or update your post.
Only add tags that are genuinely related to the article. A small number of relevant tags is usually better than adding many unrelated terms.
How to Edit Tags in WordPress
If you need to change a tag, go to Posts > Tags.
Find the tag you want to modify and click Edit.
You can change the tag name, slug, and description. After making your changes, save the update.
You can also use the quick editing option for simple changes.
How to Delete a WordPress Tag
To remove a tag you no longer need, go to Posts > Tags.
Find the tag and click Delete.
Deleting a tag does not delete the posts associated with it. The posts will remain on your website, but the deleted tag will no longer be assigned to them.
Before deleting tags, review your website’s content structure to make sure the tag is not needed elsewhere.
Tags vs Categories in WordPress
Categories and tags both help organize WordPress content, but they have different purposes.
Categories are generally used for broad topics. Tags are better for specific subjects or details within those topics.
For example:
Category: WordPress
Tags: WordPress plugins, WordPress themes, WordPress security
Using both correctly can create a cleaner content structure.
For more useful organization advice, this WordPress tag management guide can help you maintain a simple and consistent tagging system.
Best Practices for WordPress Tags
Use tags only when they add value to your content. Avoid creating a new tag for every small variation of a keyword.
Keep tag names consistent across your website. For example, do not create both “WordPress Plugin” and “WordPress Plugins” unless there is a clear reason.
Review your tags regularly and remove unnecessary or duplicate tags.
Most importantly, focus on helping visitors find related content rather than adding tags simply to increase the number of keywords on a page.
Conclusion
Creating tags in WordPress is a simple way to describe and connect related content. You can create tags from Posts > Tags, add them while editing posts, and manage them whenever your website’s content structure changes.
Use clear and relevant tags, avoid duplicates, and keep your tagging system simple. When combined with well-planned categories, tags can make your WordPress blog easier to organize and navigate.